HOME → GUIDES → ONLINE ILLUSTRATION COURSE
Follow this step-by-step guide to learn the process of creating an online illustration course in CreativeMindClass, a free tool used by top creators.
Creating an online illustration course, whether you're new to teaching or an experienced pro, can be overwhelming. From the idea, research, and video production to launch and beyond, there are many factors to consider. A good plan is crucial for success as it helps you organize every aspect, allowing you to focus on a unforgettable learning experience for your students.
In this guide, you'll learn the 5 essential steps to creating a successful online illustration course...
1. Online course plan
Set up a place to create your online course
Traditionally, an online course might be scattered across social media, websites, payment pages, messages, e-mails, and laptop folders. A central online course combines those into one easy-to-access place. It will evolve over the lifespan of your online course but usually includes:
- Introduction
- Work Examples
- Materials
- Inspiration
- Planning
- Class Project
- Summary
How to do it in CreativeMindClass
- Click My Classes in main menu to open it.
- Click ADD CLASS button to create a new course.
2. Course topic
Figure out what and who you'll teach.
Starting your online illustration course can be stressful as you need to come up with something that people will want to buy. But a carefully thought course topic will set you up for success.
A course topic is a simple but impactful idea for creating the right course for the right people. Illustration is your passion; you have your knowledge, skills, and experience that your audience is willing to pay for. It's time to look at it closer and put it in words.
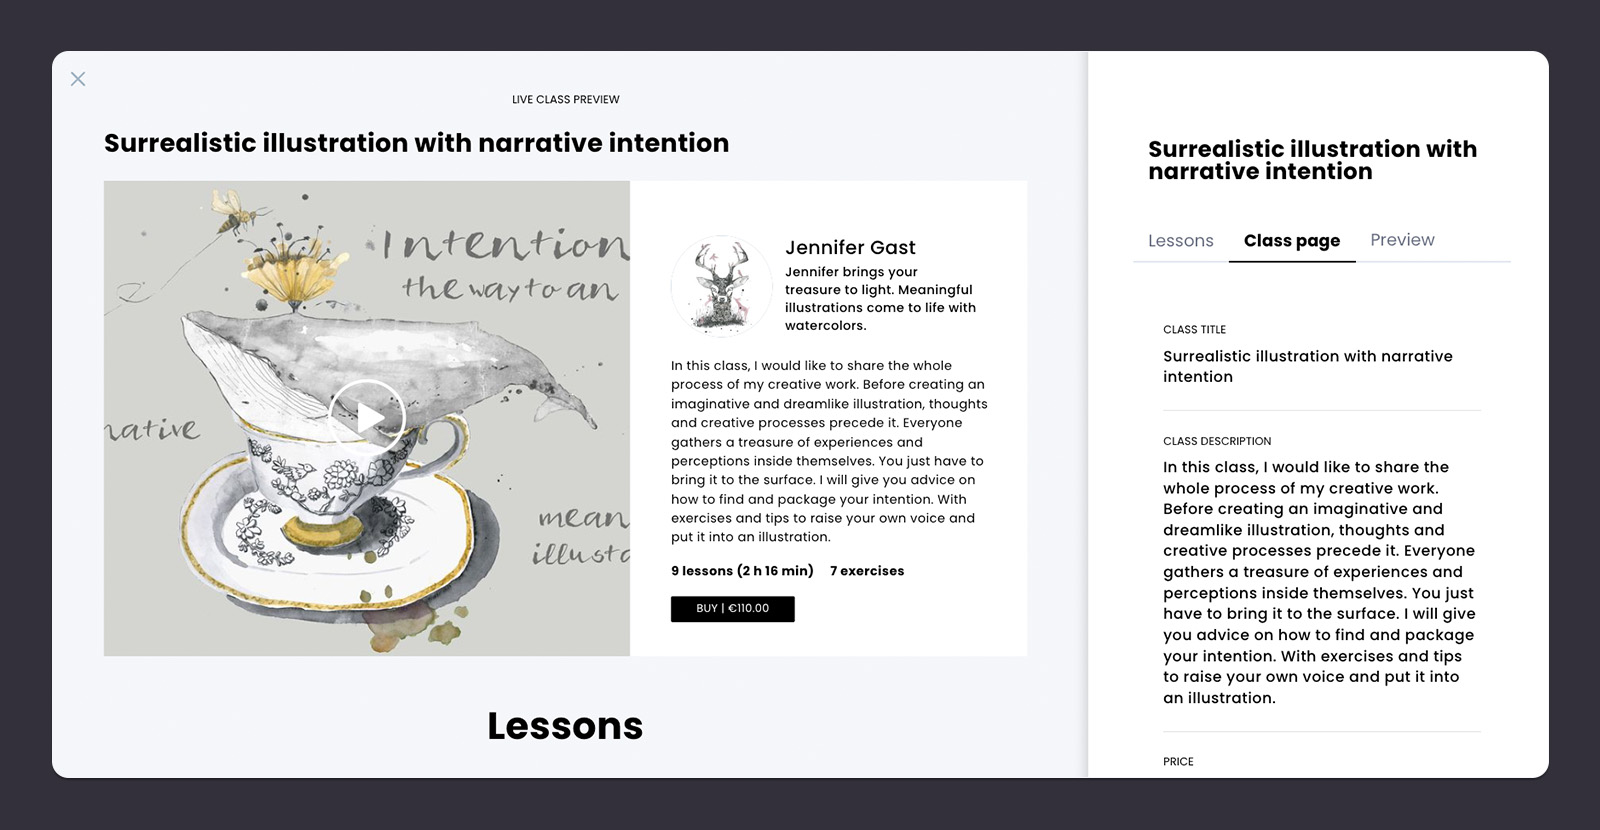
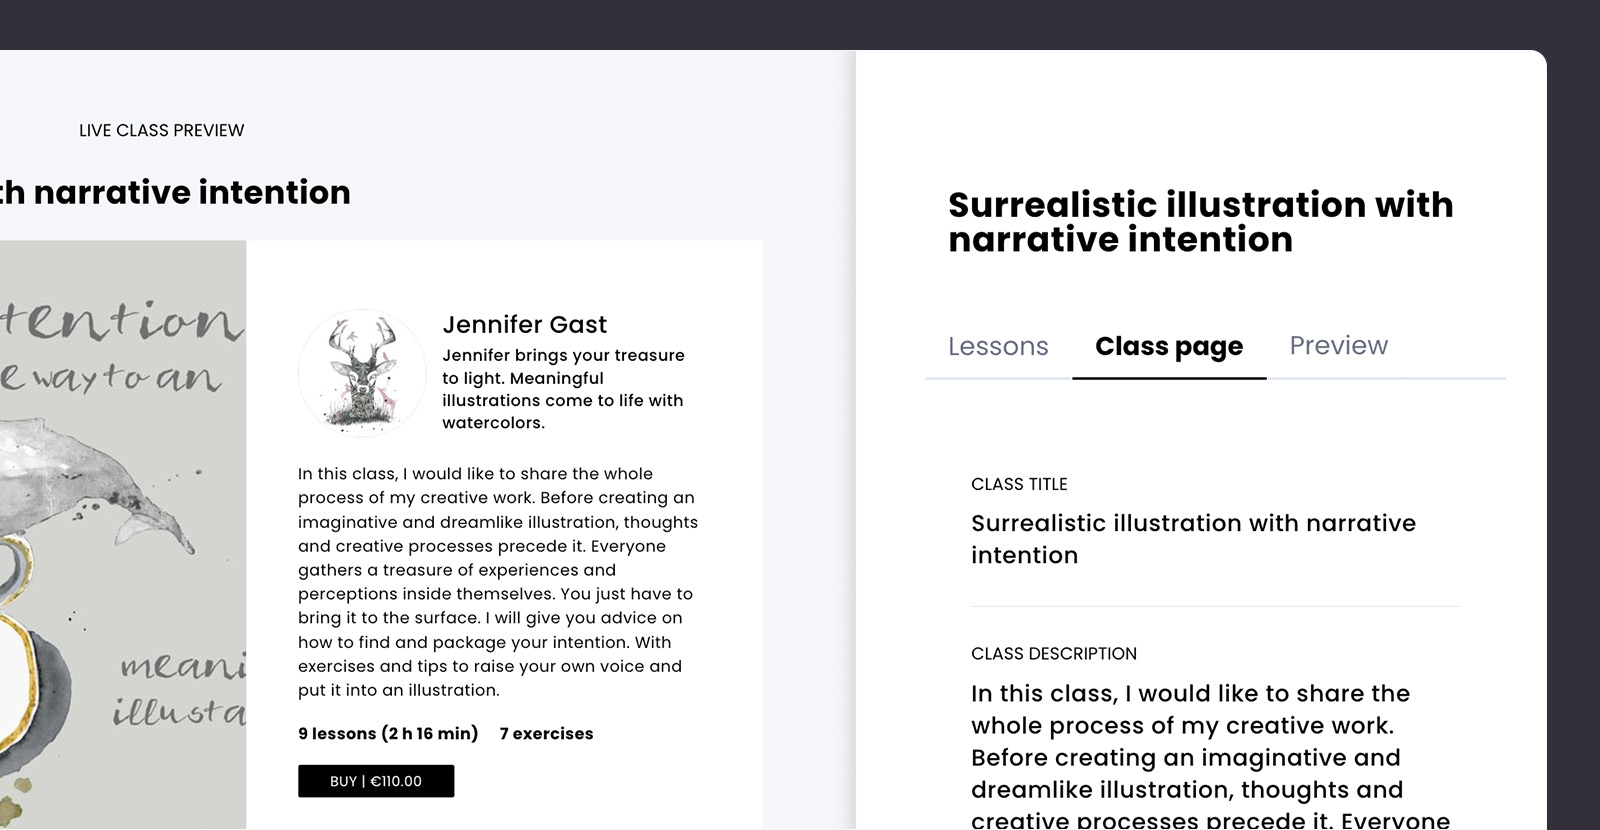
First, open the Class page
You'll find the Class page tab in the Class. Click the Class page tab to open it and start adding your course name and description.
How to do it in CreativeMindClass
- Click Class page tab to open it.
Specify what you should teach
What kind of illustration do you do? What do you love about it? What do others come to you for advice about? What would you like to learn yourself? This helps you to come up with a topic you feel most confident about, making the course creation time much easier.
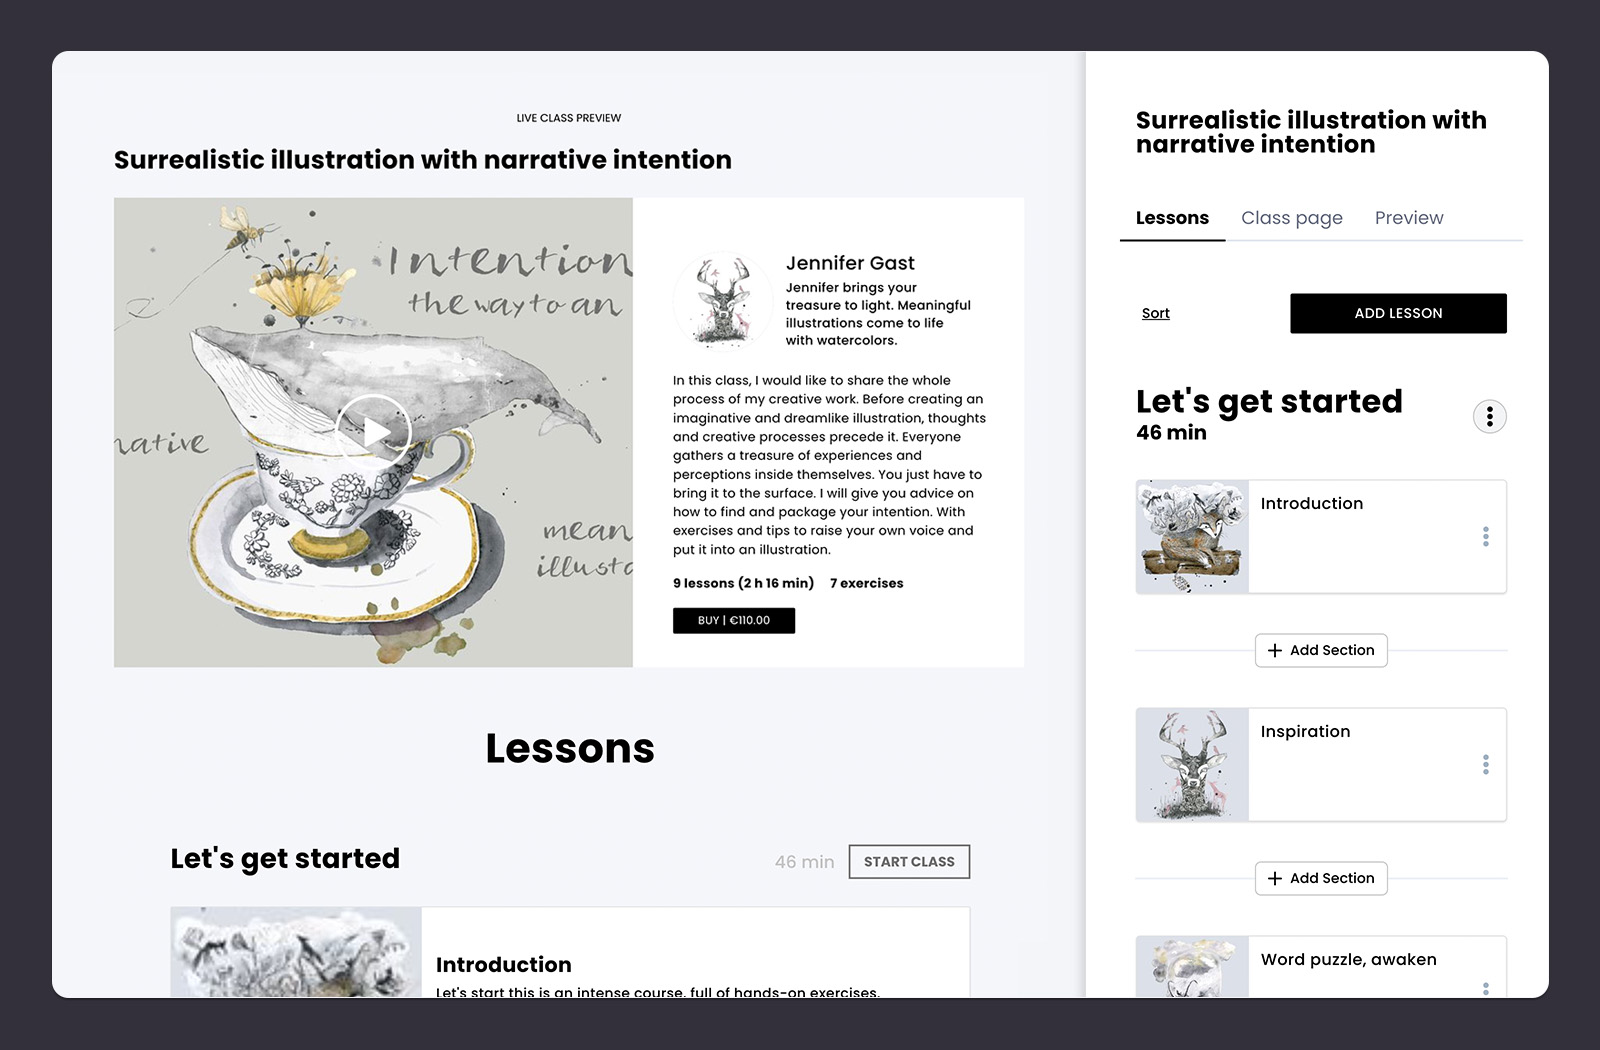
Name your course
A clear, catchy, and benefit-focused title helps people to make a quick decision. It grabs their attention and makes them stop scrolling and say, "Yes, I want to buy it!". Use powerful words to trigger emotions and the response that gets them to read, click and buy.
How to do it in CreativeMindClass
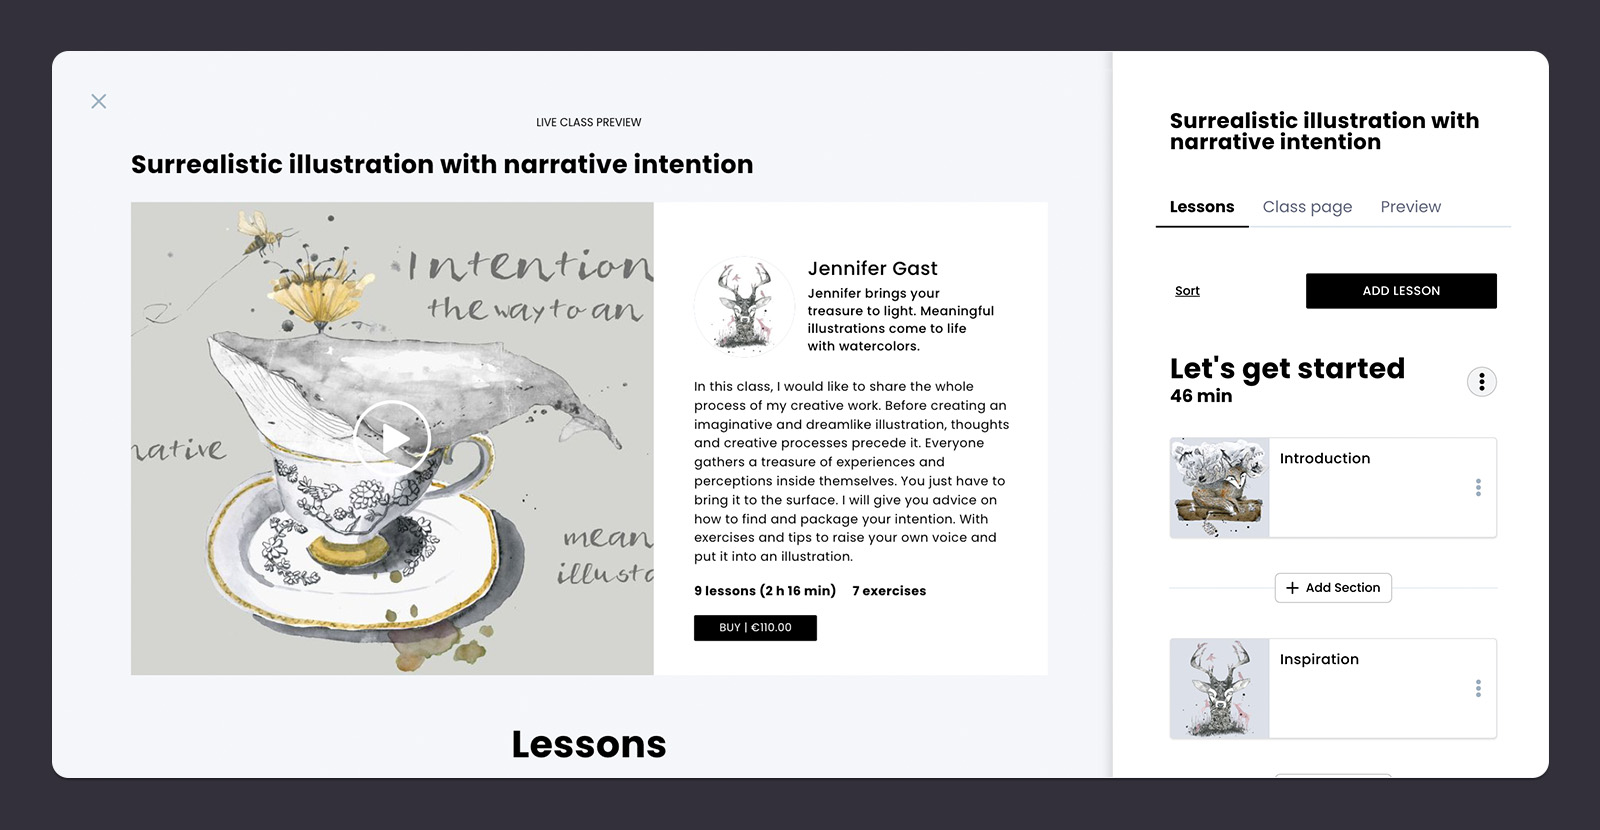
- Type CLASS TITLE to name your course. For example "Surrealistic illustration with narrative intention".
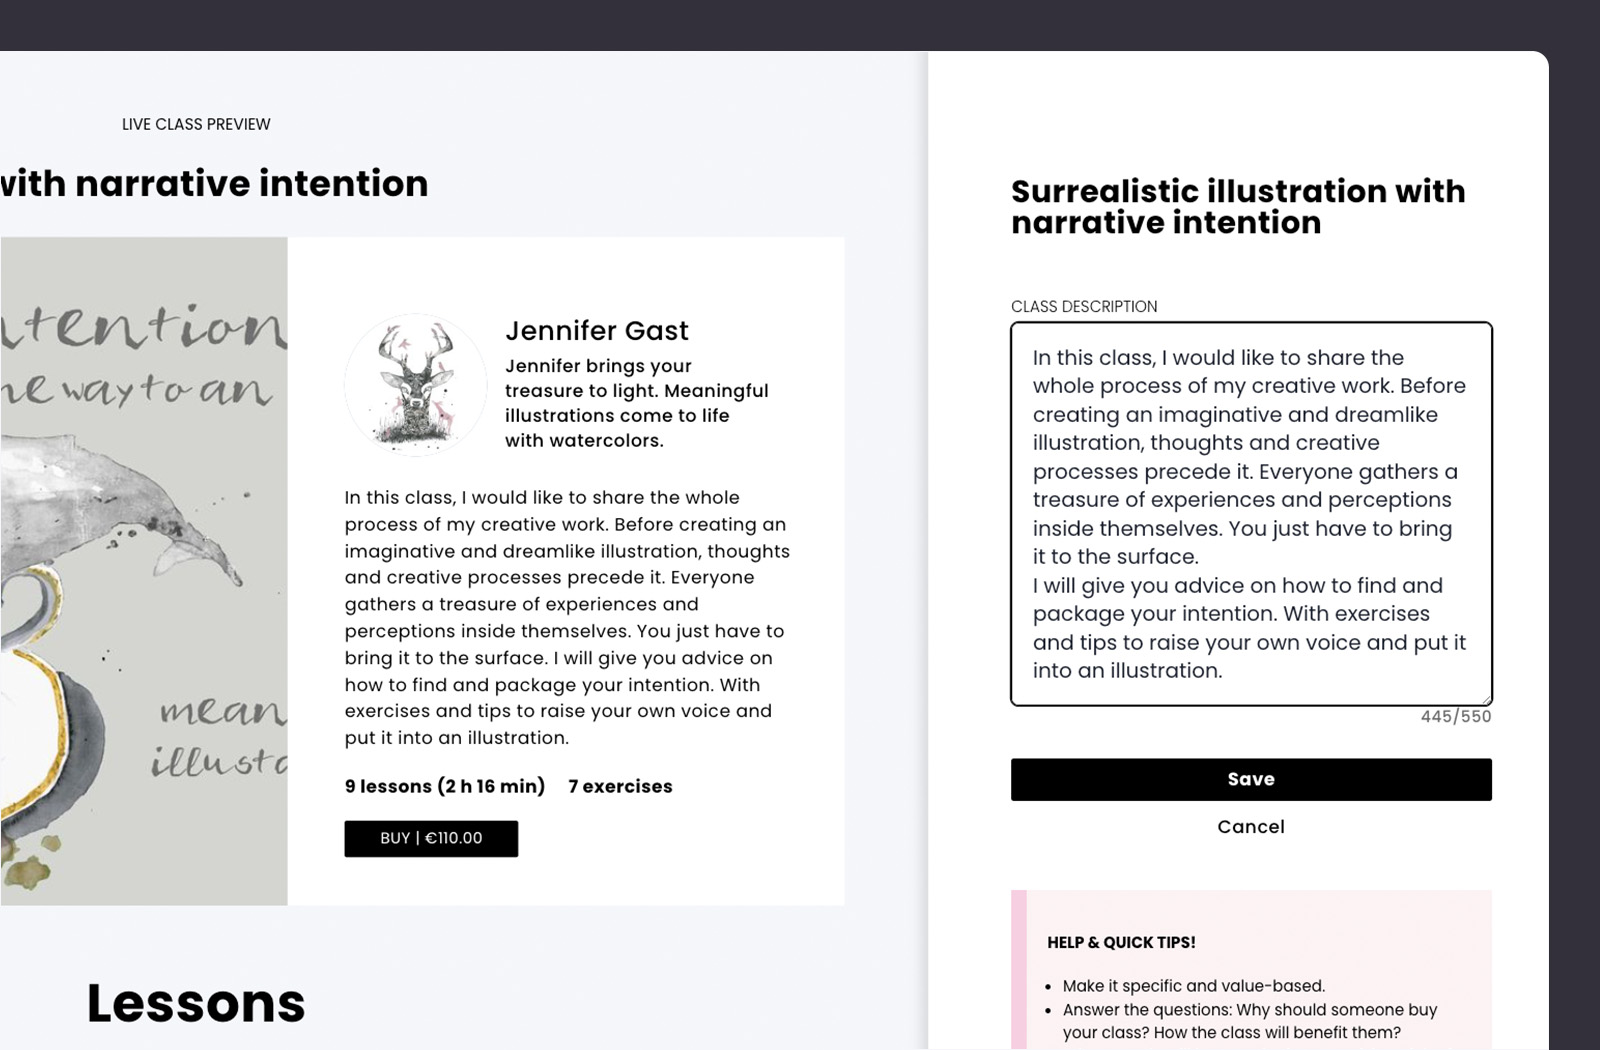
Craft an offer (and find people who will buy it)
What will people learn? Do you want to focus on shooting or editing? Who is a promising audience for this course? What specific high-pain problems do you solve? Are there any competitors offering similar courses? As you work on the offer, find someone motivated enough to pay money to learn about it.
How to do it in CreativeMindClass
- Type CLASS DESCRIPTION to communicate your offer.
You’ve finished the course topic!
Now that your course topic is complete, you have a powerful and realistic offer for your online illustration course. Remember, you can create multiple classes to explore different course topics and test them.
Next, we'll create a course plan so you won't miss a thing during the video recording...
3. Course outline
Plan each lesson you need.
Planning the entire online illustration course can be overwhelming. Sorting through piles of content creates a risk of confusion in selecting what should be included in the online illustration course. But a clearly defined course outline will make sure it's manageable.
A course outline is a do-to list of every video you want to make on the day of filming the course. It usually contains a list of specific lessons with notes about content details and learning outcomes, so you don't forget a thing.
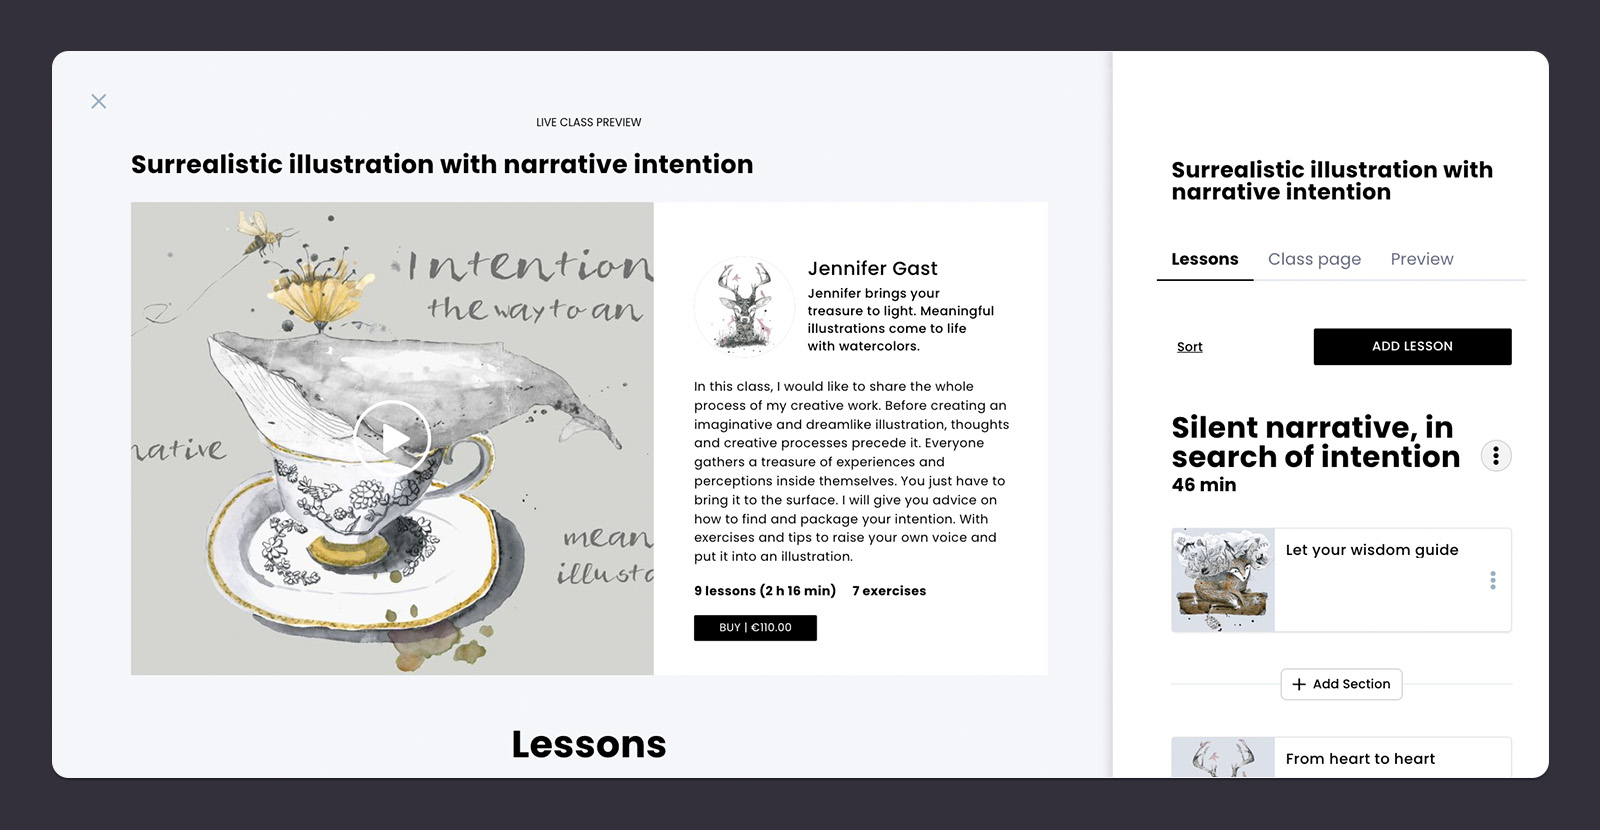
First, open the Lessons
You'll find the Lessons tab in the Class. Click the Lessons tab to open it and start adding your lessons.
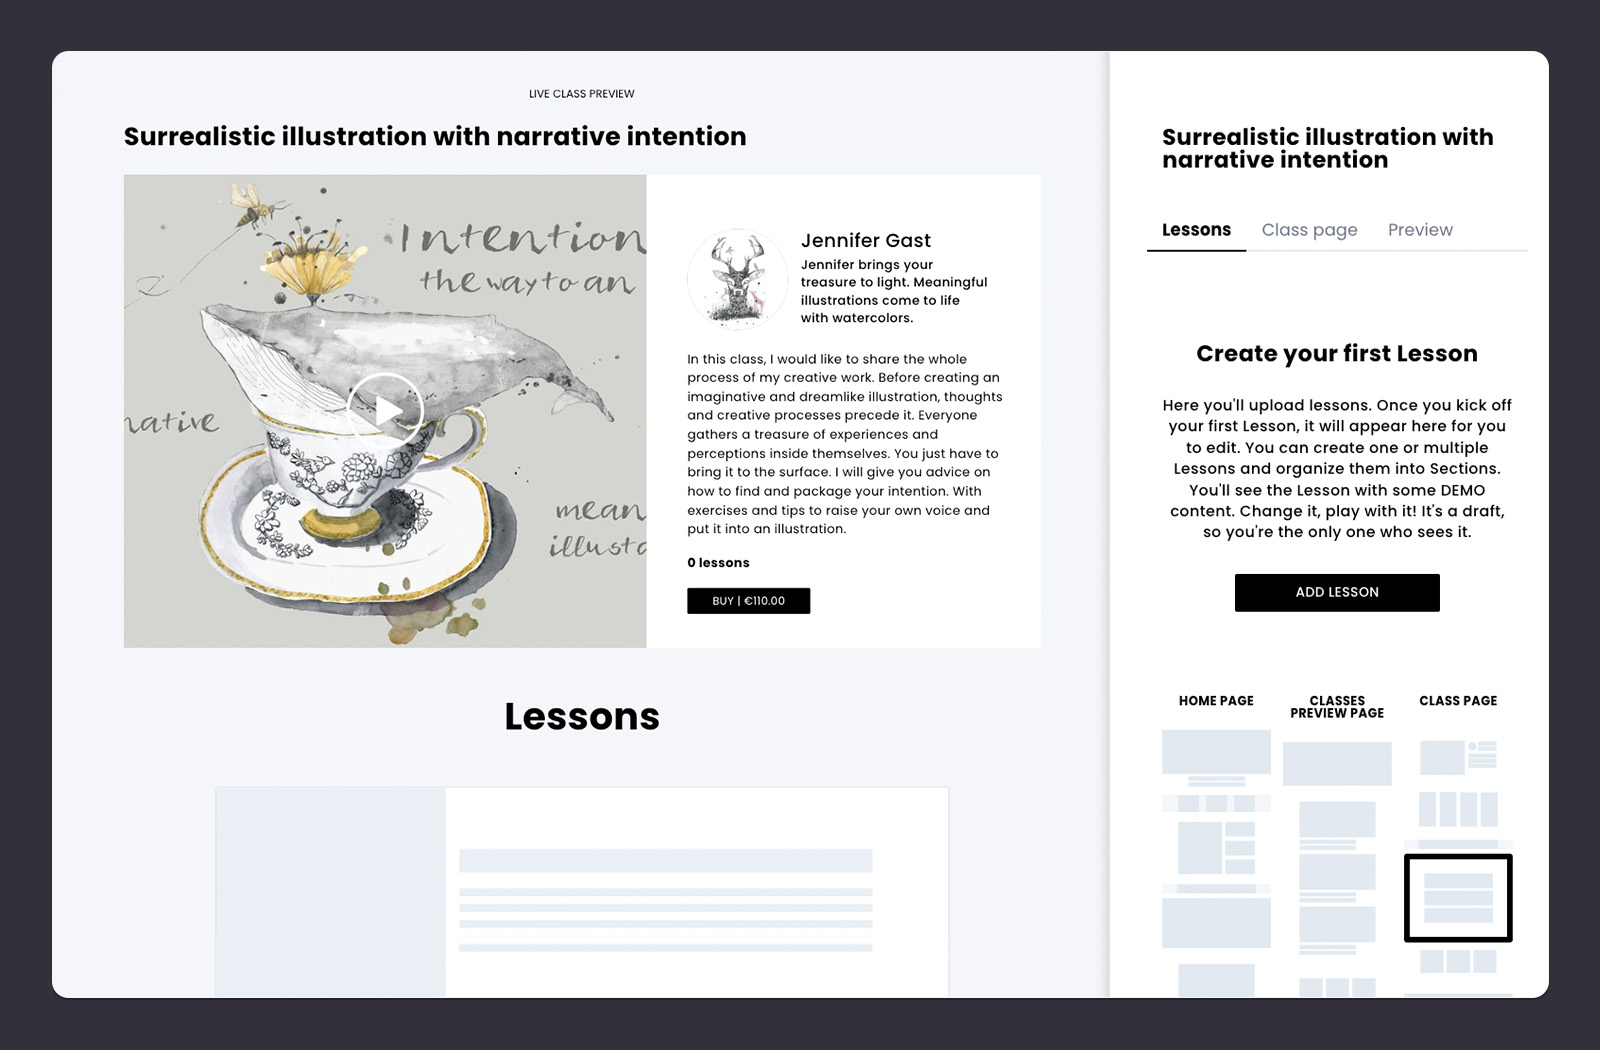
How to do it in CreativeMindClass
1. Click LESSONS tab to open it.
List the things you're covering
Start by listing the core subjects and elements you want to cover. These could be introducing yourself, showing your best works, course overview, materials, hands-on project, poslishing the work and editing, conclusion. Don't get into specific details yet. What could you cover in 3-10 minutes video lessons?
How to do it in CreativeMindClass
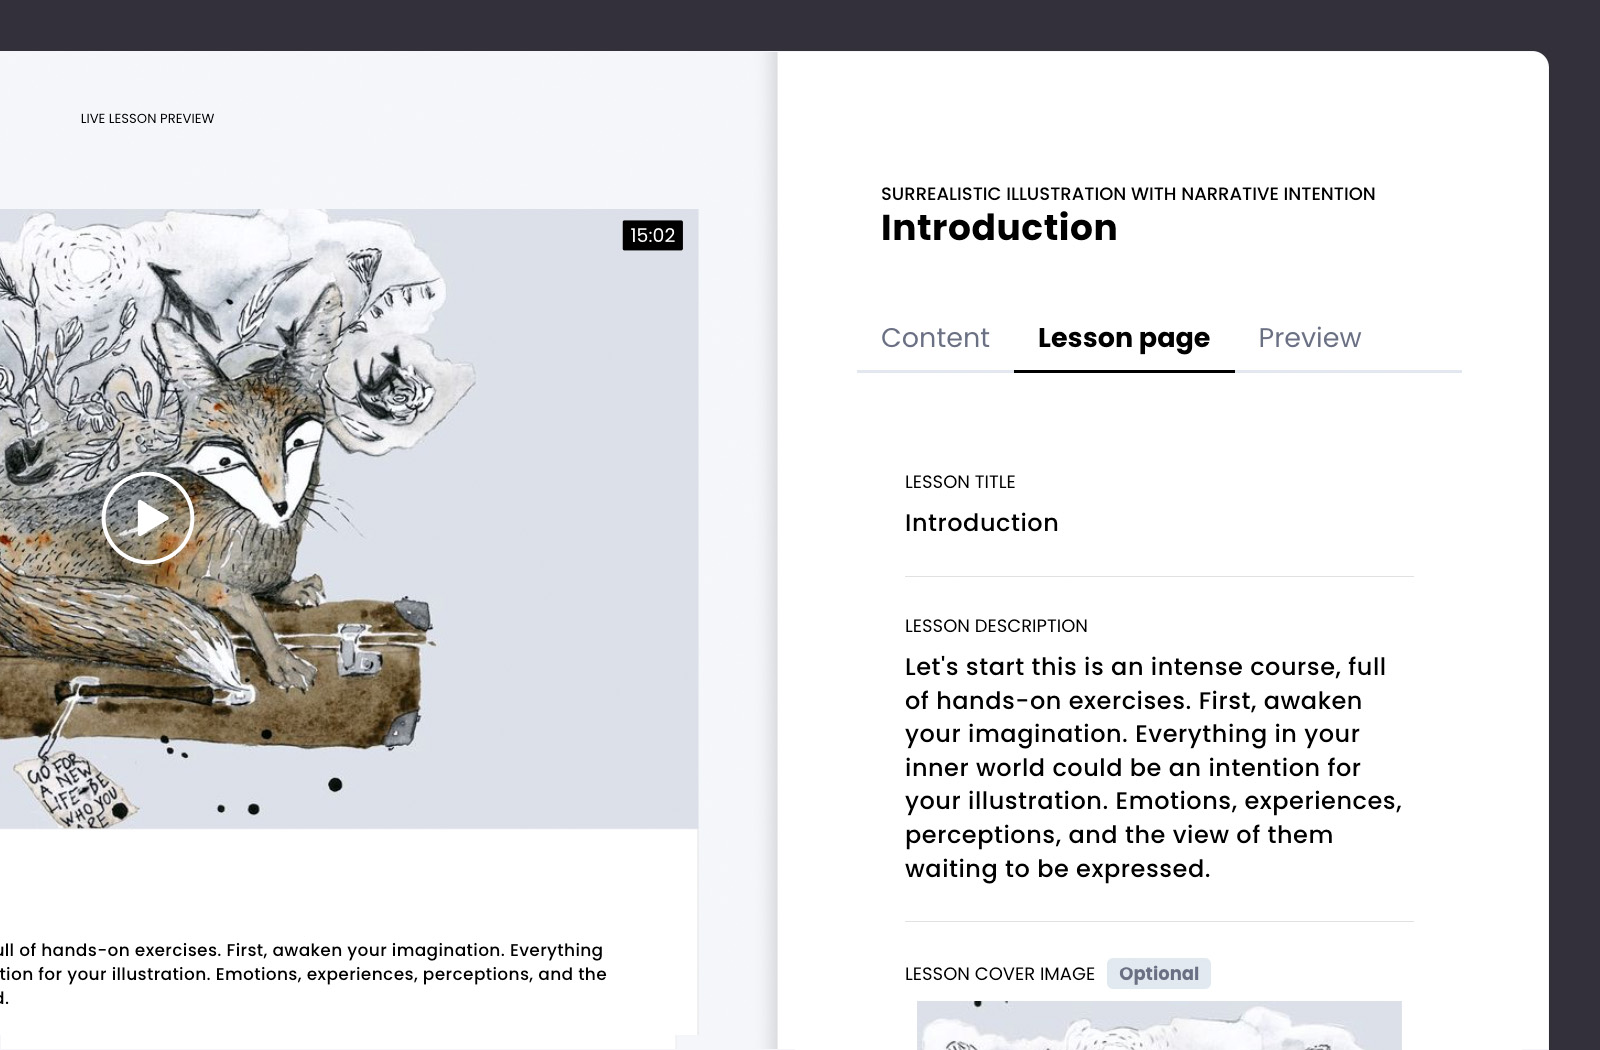
- Click ADD LESSON button to create a new lesson.
- In Lesson page tab, type LESSON TITLE. For example "Introduction".
- Add 10-20 lessons to your course. For example "Materials", "Inspiration", "Class project", "Conclusion" etc.
List the individual learning outcomes
This is the heart of the course outline. It's where you list all the important points for each lesson you want to record. Think about specific learning outcomes and content that answers your audience's questions or figure out the gaps not met by your competitors.
How to do it in CreativeMindClass
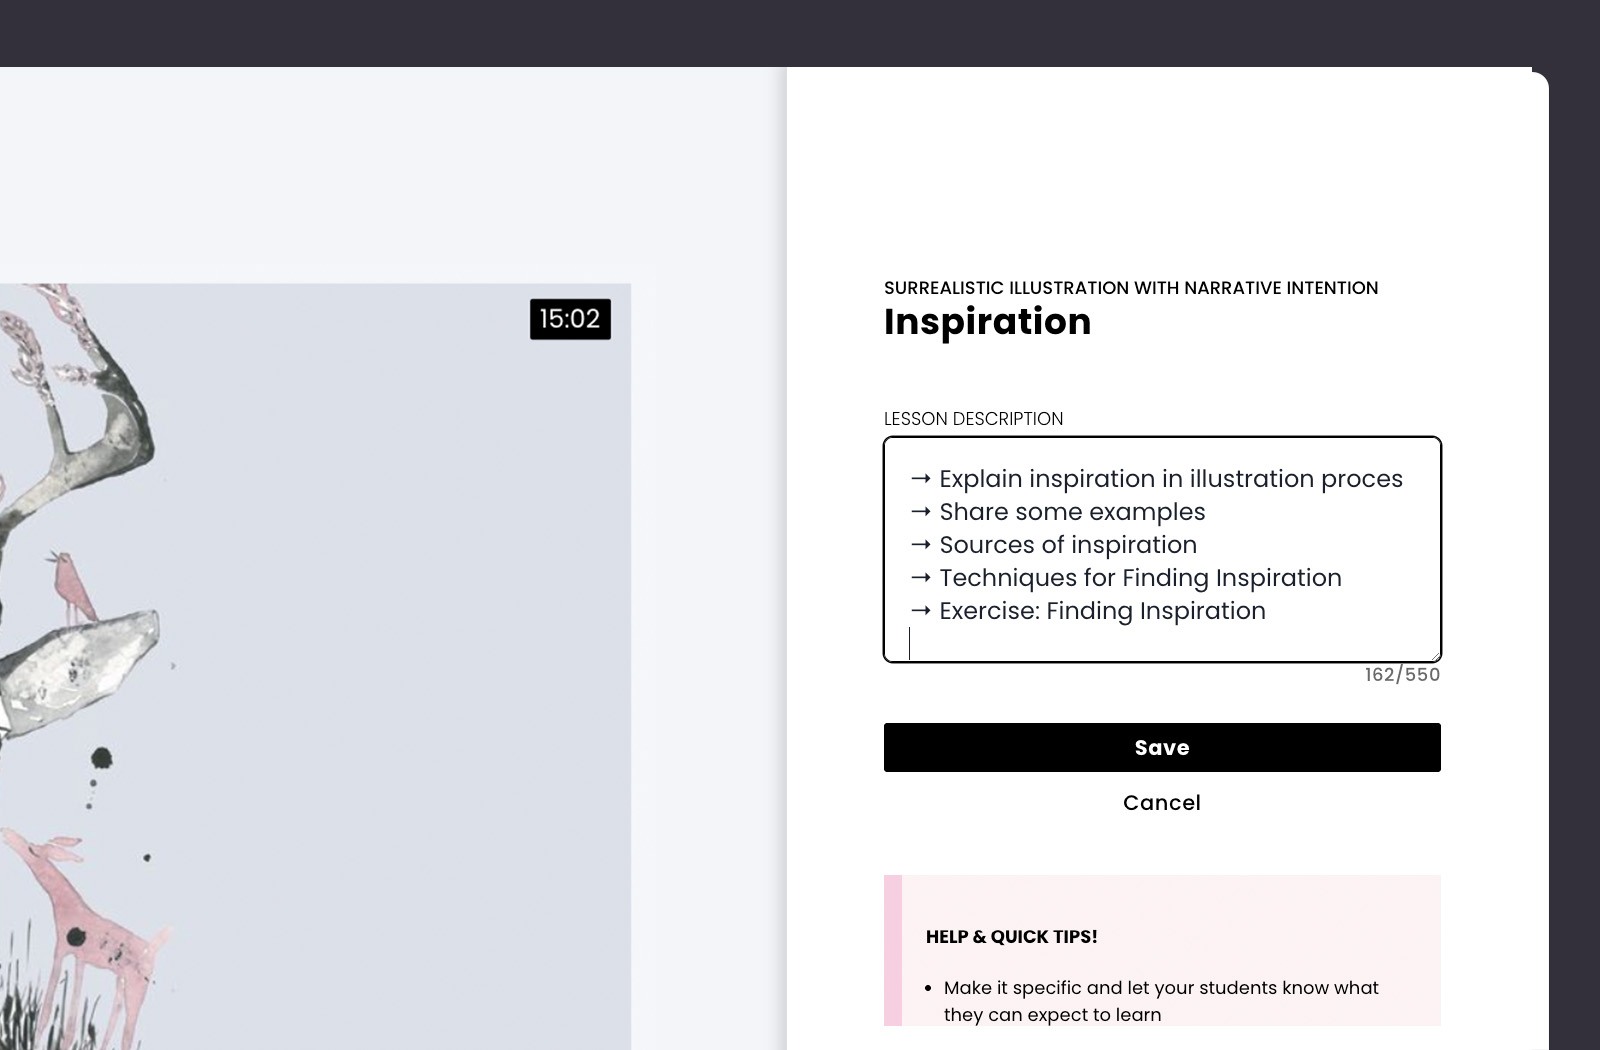
- Navigate to "Inspiration" lesson.
- Type LESSON DESCRIPTION to create your lesson outline. For example "Explain inspiration in illustration proces, share some examples, sources of inspitration, techniques for finding inspiration, exercise: finding inspiration".
Go from messy to organized
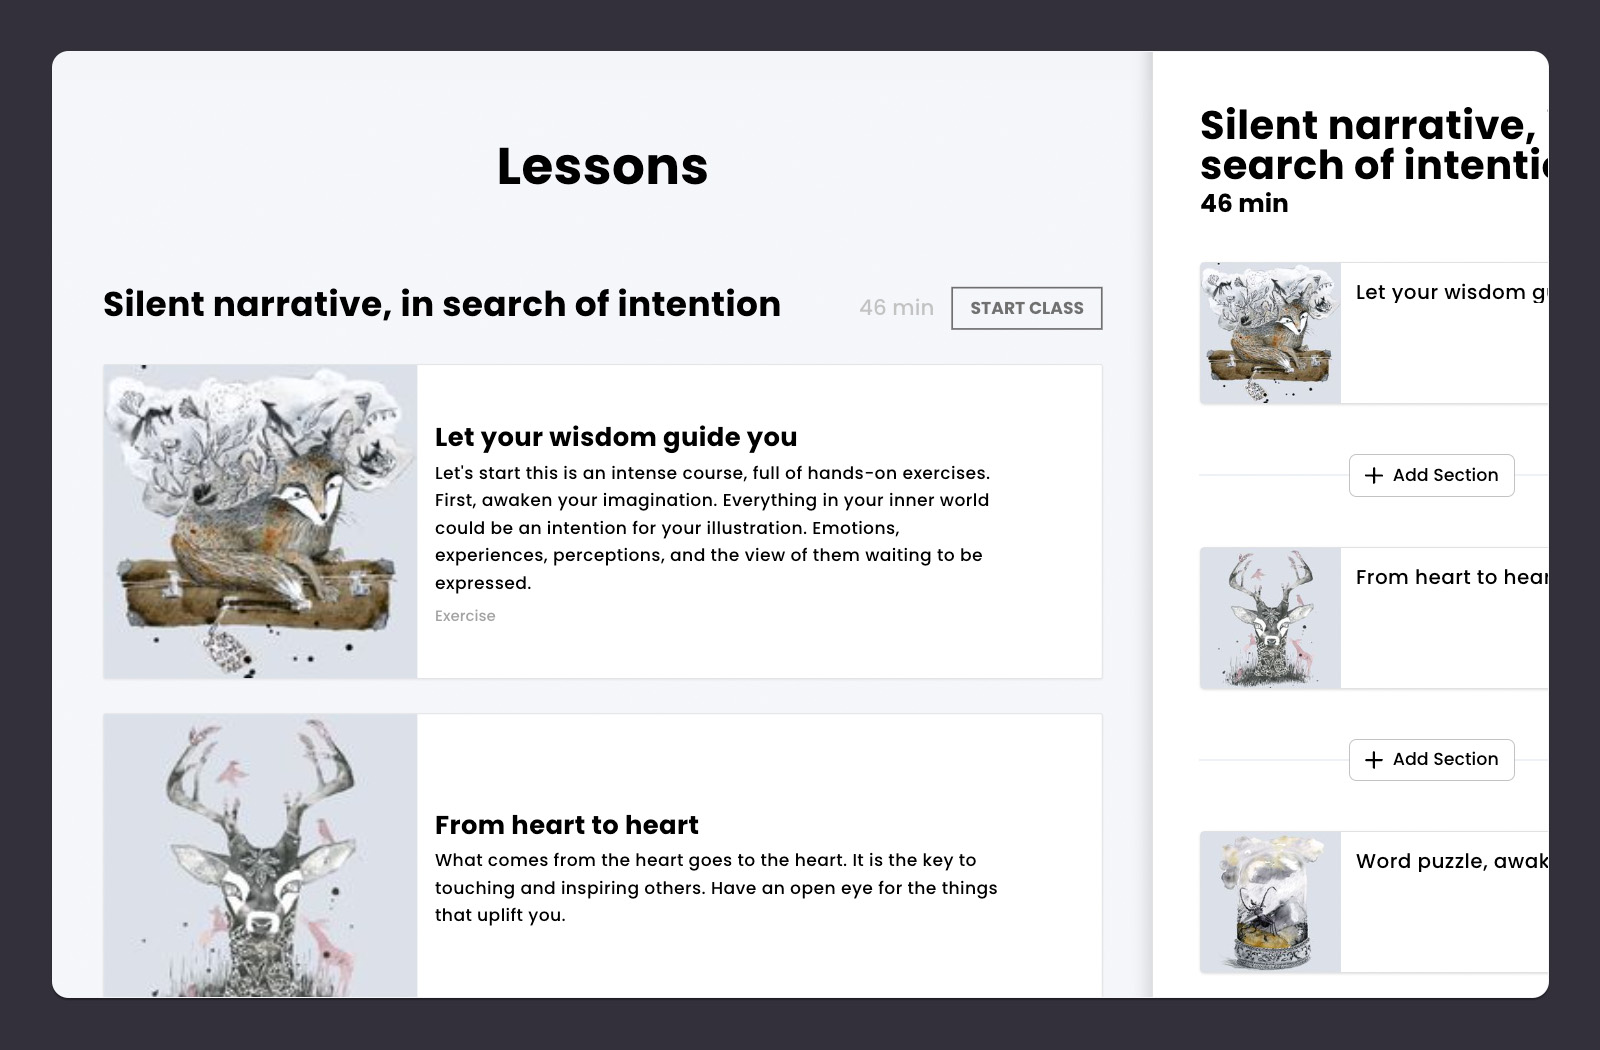
You might have created a course outline that you find now is too long or not clear enough. If you have lots of information to cover, consider breaking your course into sections. Remove the lessons without a clear learning outcome. Try to be ruthless at this stage so it doesn't become a time-consuming exercise.
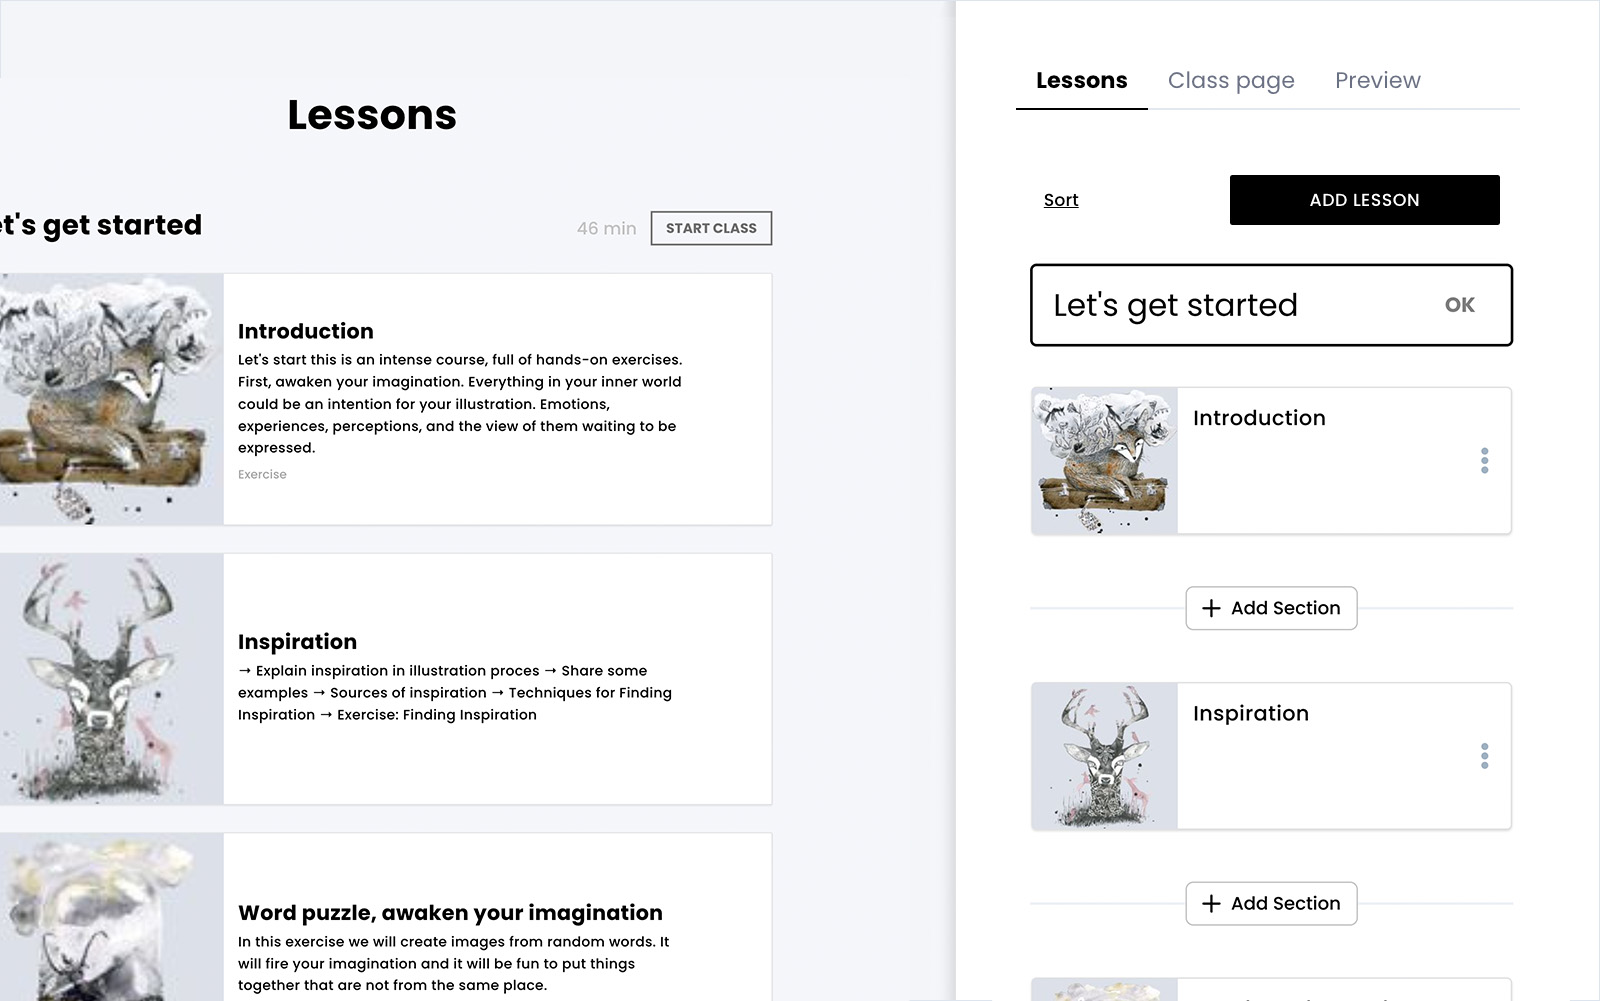
How to do it in CreativeMindClass
- Click Add Section button to create a section.
- Type Section title. For example "Let's get started" section for "Introduction" and "Inspiration" lessons.
- Add more sections to group your lessons.
Reference it on the video recording day
Traditionally you'd print out your to-do list to refer to on the filming day. But these days, a to-do list can be accessed on phones or laptops. This way, you can check off each lesson or adjust it as you need.
You've finished the course outline!
Now that your course outline is complete, you have a clear plan for your video recording.
Next, we'll discuss how to deliver and record your content...
4. Content delivery
Prepare videos, downloadable files, and exercises.
Now that you have a course outline ready, it's time to think about how to present each element of your online illustration course.
Video lessons contain engaging, interactive, and fun content which gives a great learning experience for online students. The best way to deliver learning outcomes is to mix different multimedia: videos, screen recordings, presentations, audio, hand-outs, and exercises.
Look at your lessons list. What method fits best to deliver the learning outcomes of each lesson?
First, open the Lessons
You'll find the Lessons in the Class. Click the Lessons tab to open it and start adding multimedia for each lesson.
How to do it in CreativeMindClass
1. Click LESSONS tab to open it.
Add a video to each lesson
Videos are the most engaging way to present your content. Videos can have different forms, like presentations or screen recordings with audio, so it doesn't mean that you need to be in front of the camera all the time.
Videos can be made at home with the skills you already have at your fingertips. When you're done recording and editing your videos, you have multiple short, 16:9, high-quality video files to upload. Keep in mind the high quality of the video. The resolution must be 1080p.
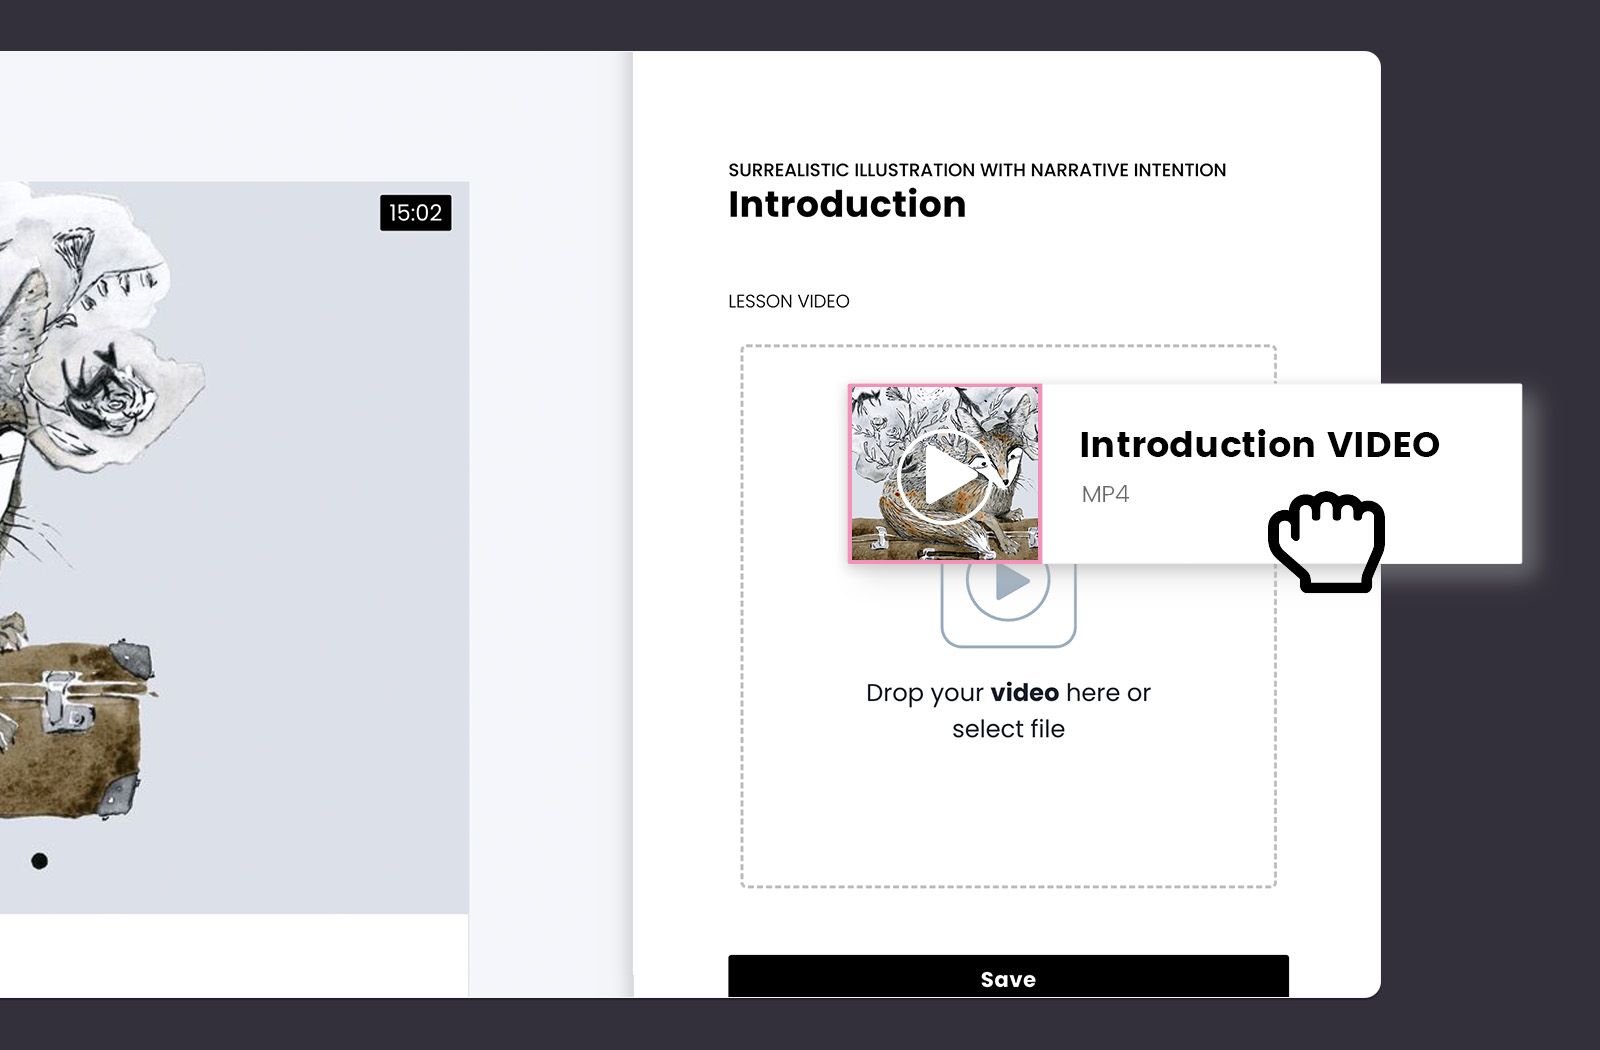
How to do it in CreativeMindClass
- In LESSON, select VIDEO lesson type.
- Drag a video file from your computer.
- Add a video to each lesson.
Add a downloadable file
Downloadable files are a great addition to your lesson. Downloadable files make your content fun, engaging and interactive. Also they leave your brand mark on students' pulpits and desks. When you upload an additional file to your lessons, your students can download it, print it out, fill it in, or edit it.
You can create video lessons with additional files like worksheets or native files. Create downloadable files using software like Procreate, Pages/Word, Google Slides, Prezi, Photoshop, or Canva. Combining downloadable files with an exercise enables students to upload their files to a lesson and get your feedback.
When you're done creating your downloadable files, you have high-quality image files or editable native files to upload.
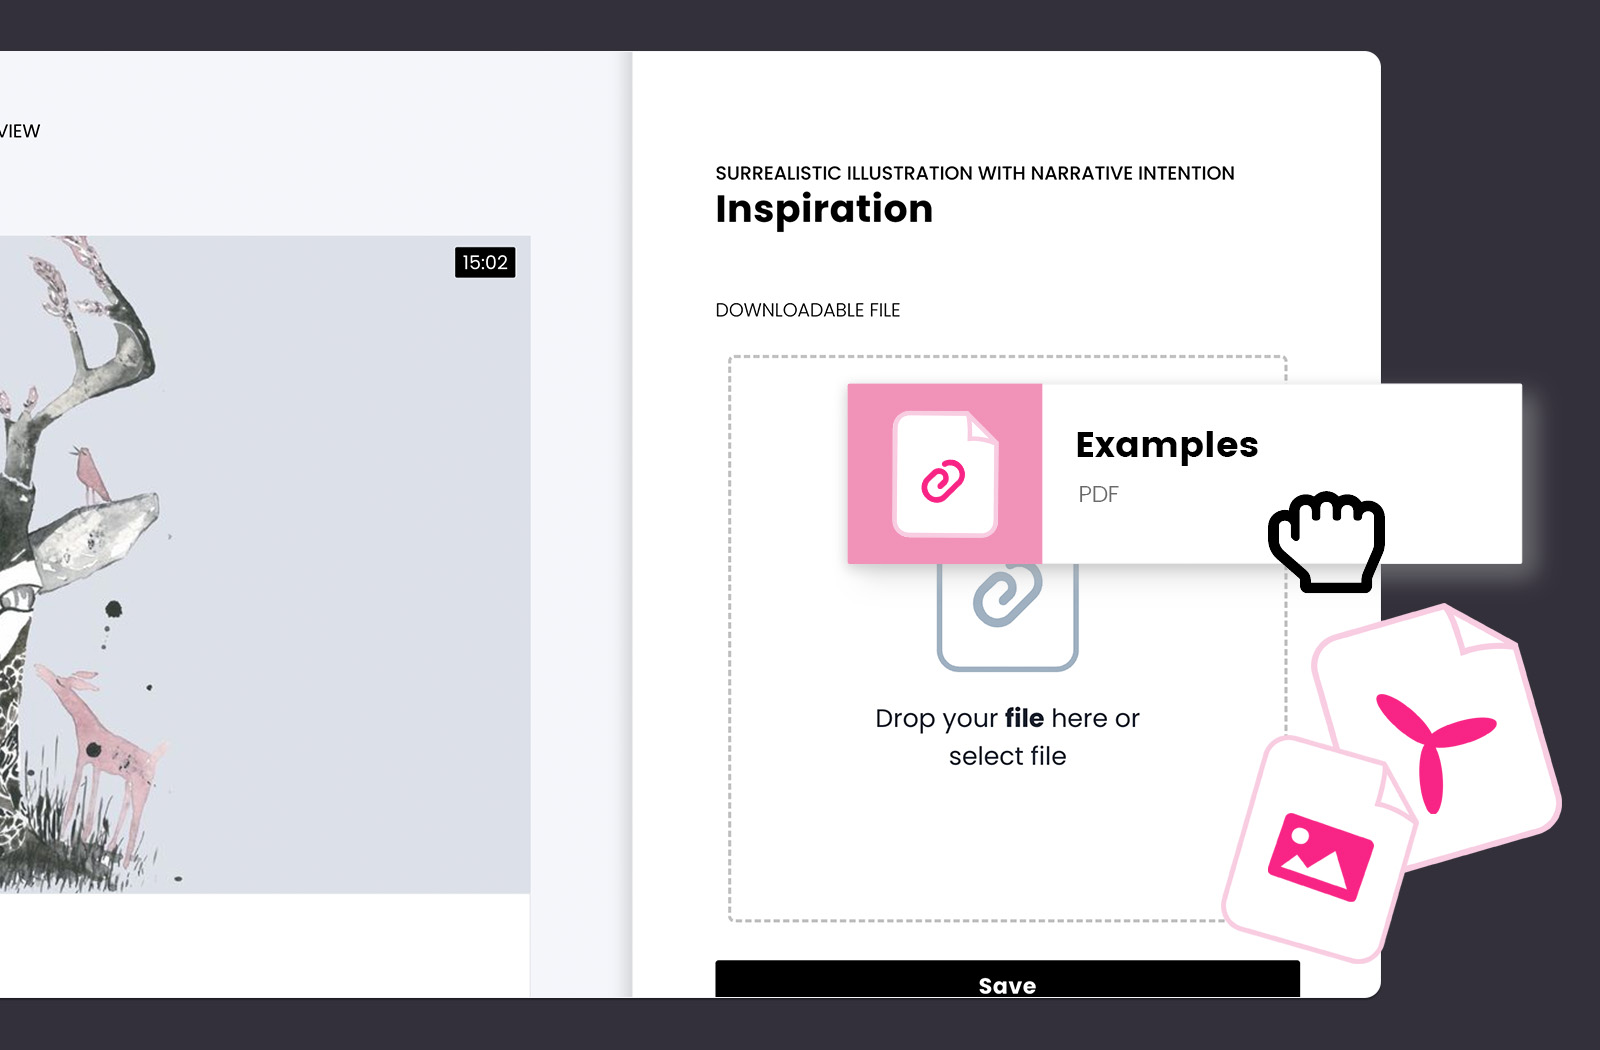
How to do it in CreativeMindClass
- Navigate to LESSON → Content tab
- Click DOWNLOADABLE FILE to upload your file.
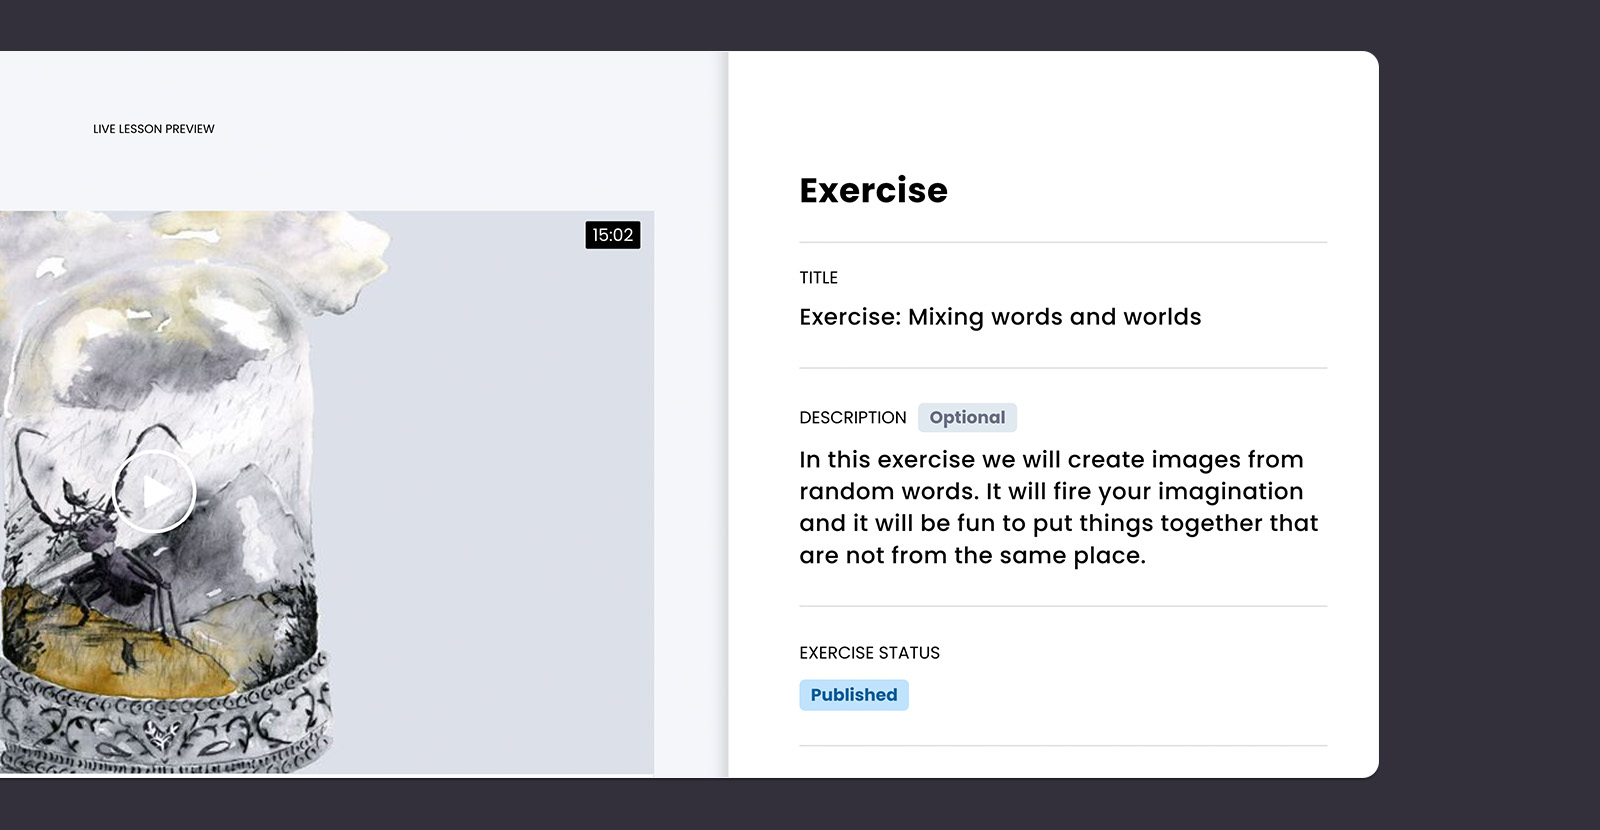
Add an exercise to a lesson
Exercises are an effective way of delivering learning outcomes. It engages students in learning by doing. Such active learning typically consists of an actionable task and instructor feedback.
Think about the learning experience you'll create to help students achieve their goals. Look at your Lessons list. Which lessons could have an engaging and fun activity as a learning method? Which lessons could have homework assignments? What brainstorming exercises could you include? What is the final project in your course?
How to do it in CreativeMindClass
- Navigate to LESSON → Content tab
- Click EXERCISE to create an exercise for your students.
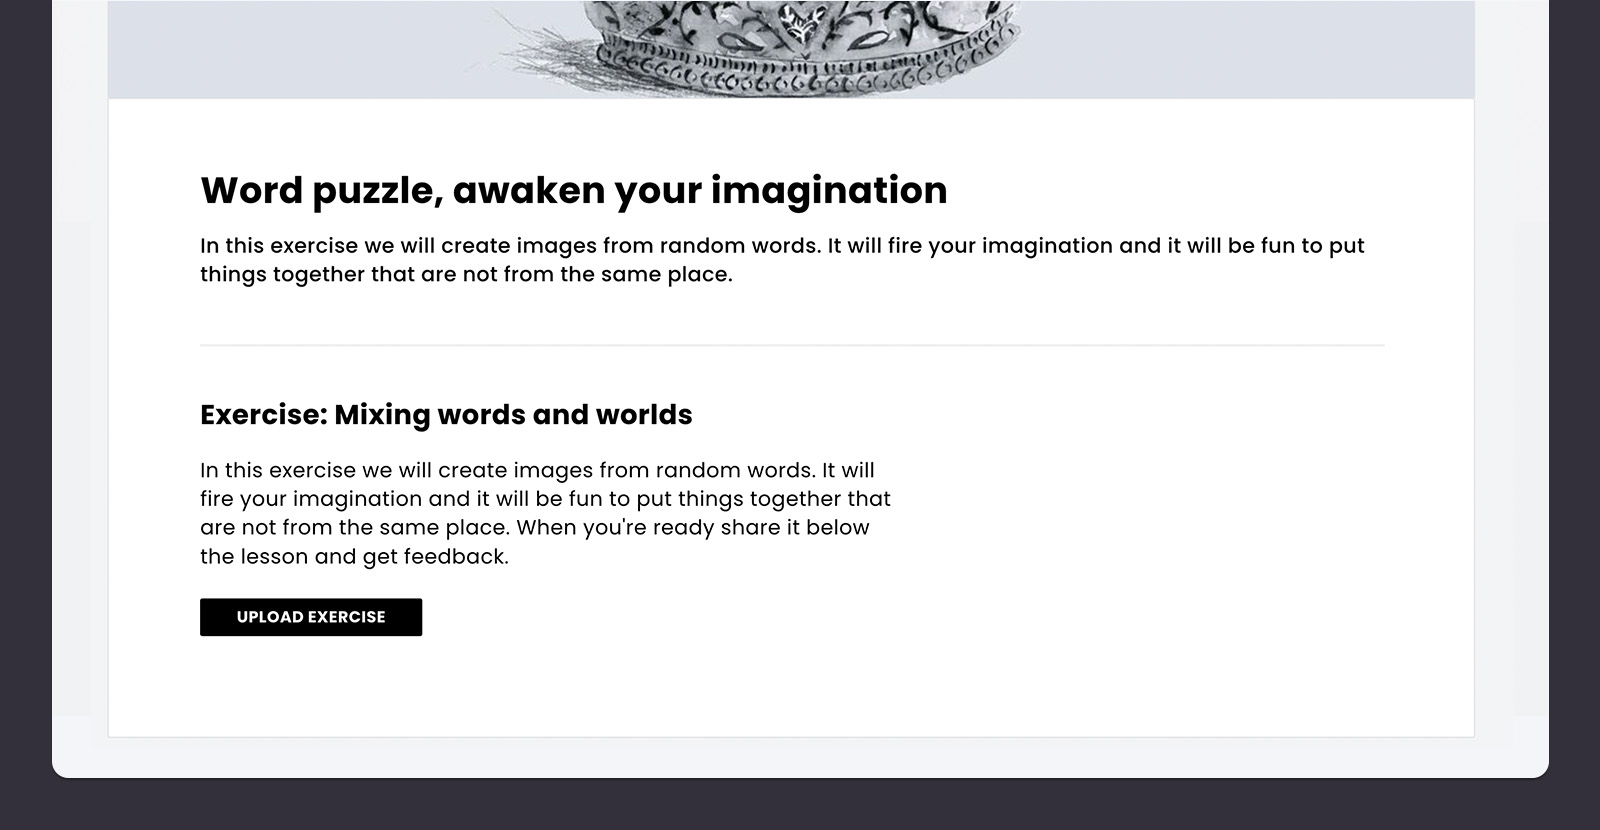
Ask students to share their illustrations and get your feedback
An online illustration course asks for a class or lesson project. When you add such exercise, your students can use the skills they learn during the course, and upload them to CreativeMindClass where you can give feedback.
How to do it in CreativeMindClass
- Navigate to LESSON → Content tab
- Click EXERCISE to create an exercise.
- Type TITLE. For example "Mixing words and worlds".
- Type DESCRIPTION. For example "In this exercise we will create images from random words. It will fire your imagination and it will be fun to put things together that are not from the same place. When you're ready share it below the lesson and get feedback". UPLOAD EXERCISE
- When your student uploads the exercise, navigate to Students' works to give your feedback.
Build an online community around your course
Learning activities and your feedback are the first steps toward building an engaged community around your online course. You can stop at that or you can take your students learning experience to the next level. This helps to grow your business and boost your brand reach.
How could you keep your students interested? What do you usually post on social media? What tips could you share about gear, composition, or software? A good idea to keep your students engaged and motivated to complete the course are daily posts with inspirations for the final project.

How to do it in CreativeMindClass
- Click My Posts in main menu to open it.
- Click ADD POST button to create a new post.
You've finished preparing the content!
Now that your content is ready, you have a powerful online illustration course. It needs a home.
Next, we'll write copy and upload visuals to your course website...
5. Course website
Persuade your audience to buy with text and visuals.
You've just finished recording your videos and you know you've created some amazing lessons. It's time to package and sell your video lessons. The easiest way to do is it to create a website (sometimes called a sales page or a landing page).
A website that is clear and benefit-oriented will sell the course for you. Why should someone choose you over another course? It's all about the promise to your customer. Well-converting course pages typically include attention-grabbing copy and visuals representing the main benefits closed with a clear call-to-action.
First, open the Website
Click on the Website to open it and add your headline, visuals, and copy.

How to do it in CreativeMindClass
- Click Website in main menu to open it.
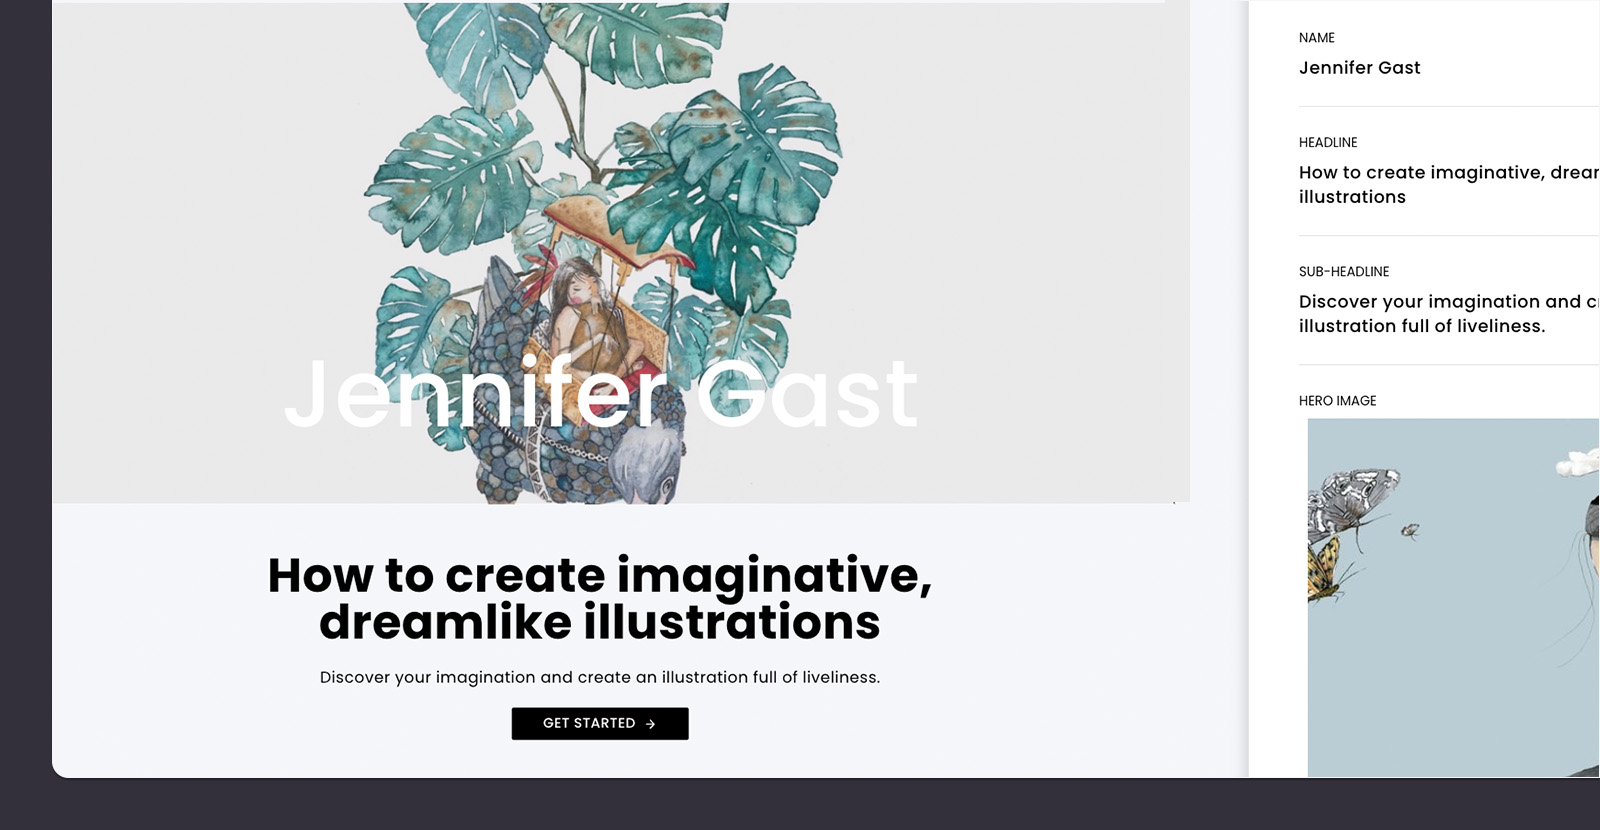
Grab the visitor's attention
On your website, you should get to the point quickly before your potential customer moves on.
The first thing they read is your headline. It describes what a visitor will get from your online illustration course. It clearly states the benefit of your course.
Keep it short, punchy, and clear. The easiest way to keep the headline short is to add a supporting headline. It can be like finishing a sentence or an additional sentence supporting the primary statement.
How to do it in CreativeMindClass
- Click Edit button on Welcome section.
- Type HEADLINE. For example "How to create imaginative, dreamlike illustrations".
- Type SUB-HEADLINE. For example "Discover your imagination and create an illustration full of liveliness".
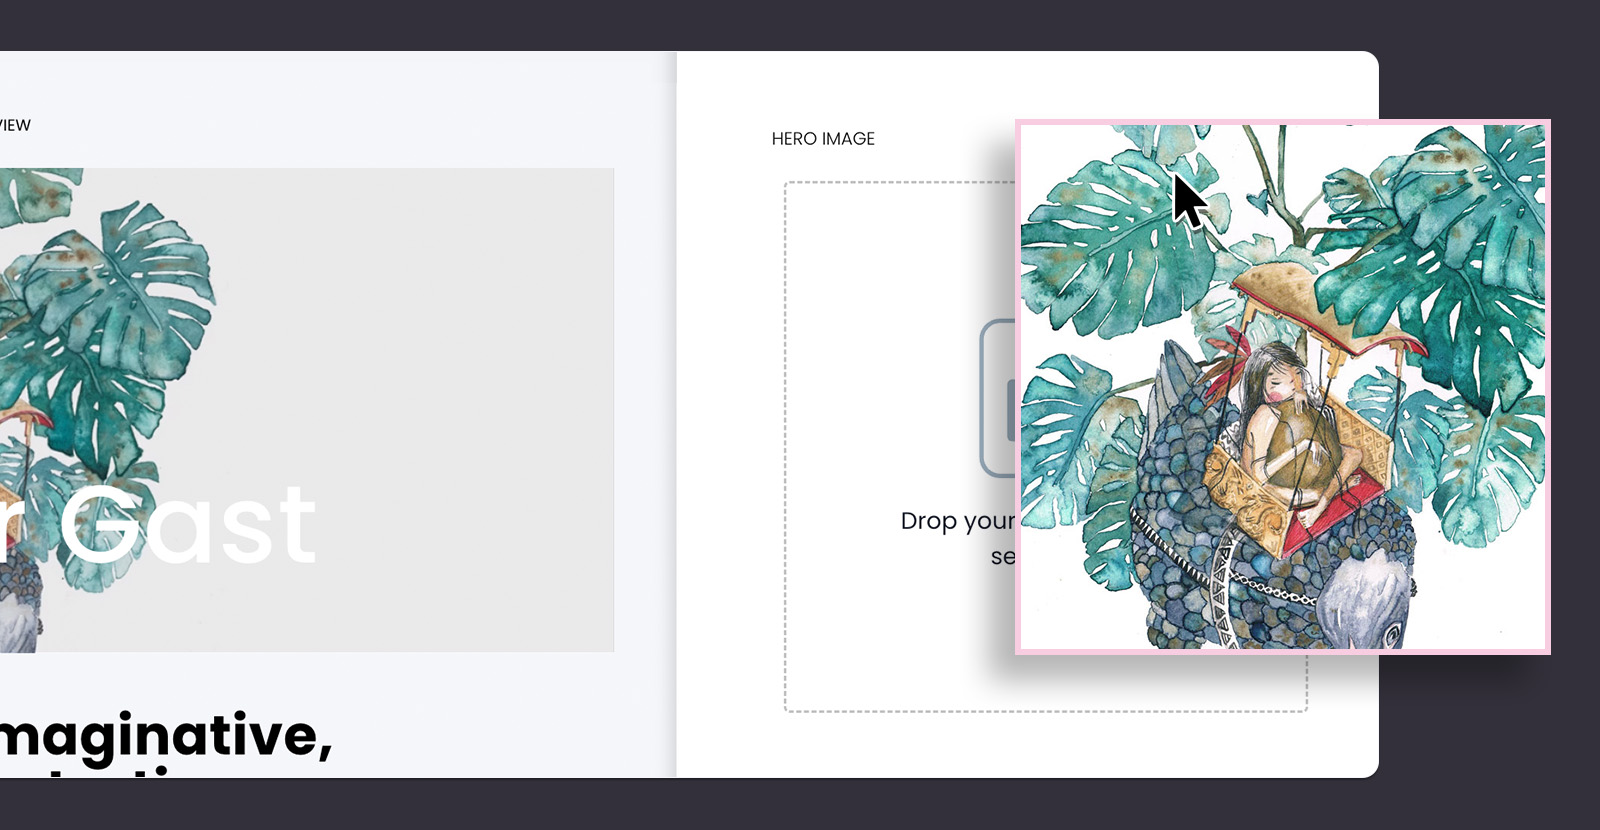
Add inspiring visuals
Add the hero image (or background video) to the top part of the course website to help visitors understand what you offer.
What does the hero image say about the benefits of your course? Place potential students in a scenario that demonstrates what they can expect from your course. If you've prepared a course, for example, about making book illustrations, you can make a collage or a background video with the final illustrations. The visuals should be large, crisp, and high-quality.
How to do it in CreativeMindClass
- Click Edit button on Welcome section.
- Click HERO IMAGE, BACKGROUND VIDEO or ANIMATION to add your visuals.
Introduce your course
Provide some basic information about your illustration course.
What does it do? How long is it? How many lessons do you offer? Do you give any bonus materials? What's the class project? Who is the course for?
This information helps the visitors who skim through your page quickly understand what they're buying.
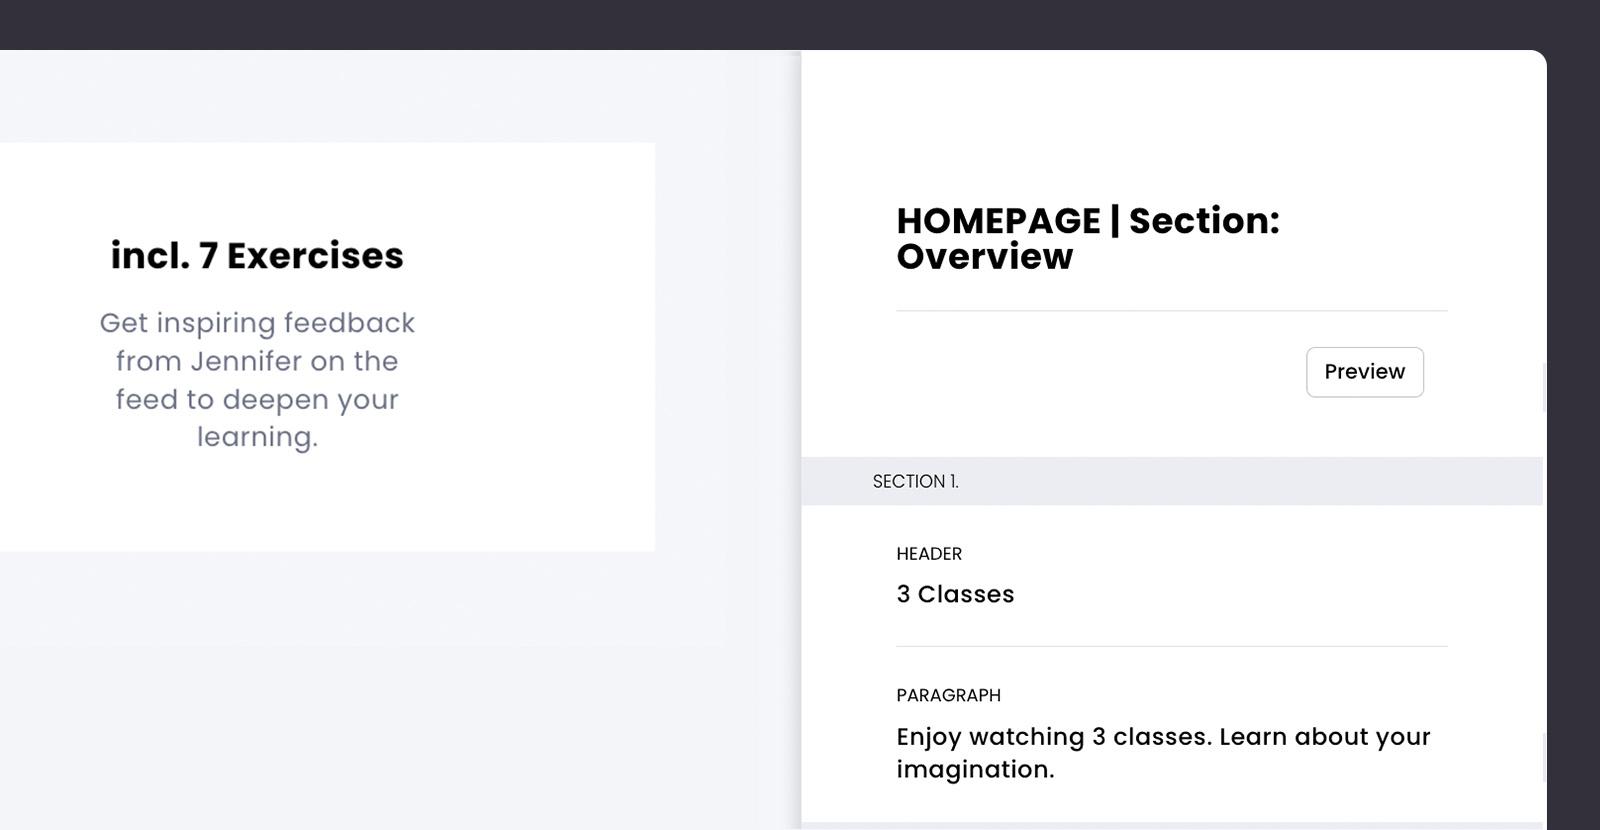
How to do it in CreativeMindClass
- Click Edit button on Overview section.
- Type HEADER. For example "3 Classes".
- Type PARAGRAPH. For example "Enjoy watching 3 classes. Learn about your imagination".
Highlight benefits
Clearly stated benefits persuade people. Provide more detail about your course, learning outcomes, and its value.
What skills will they learn? How would the course benefit a student? What is the transformation they will go through? What problems do you solve?
The easiest way to highlight benefits is to write a short, punchy, and clear header. Then, add a sub-header supporting the primary statement. In the paragraphs, write shortly about the key learning outcomes, and describe in simple words the value you're giving.
A good way to highlight the benefits is to use an eye-catching illustration or photo.
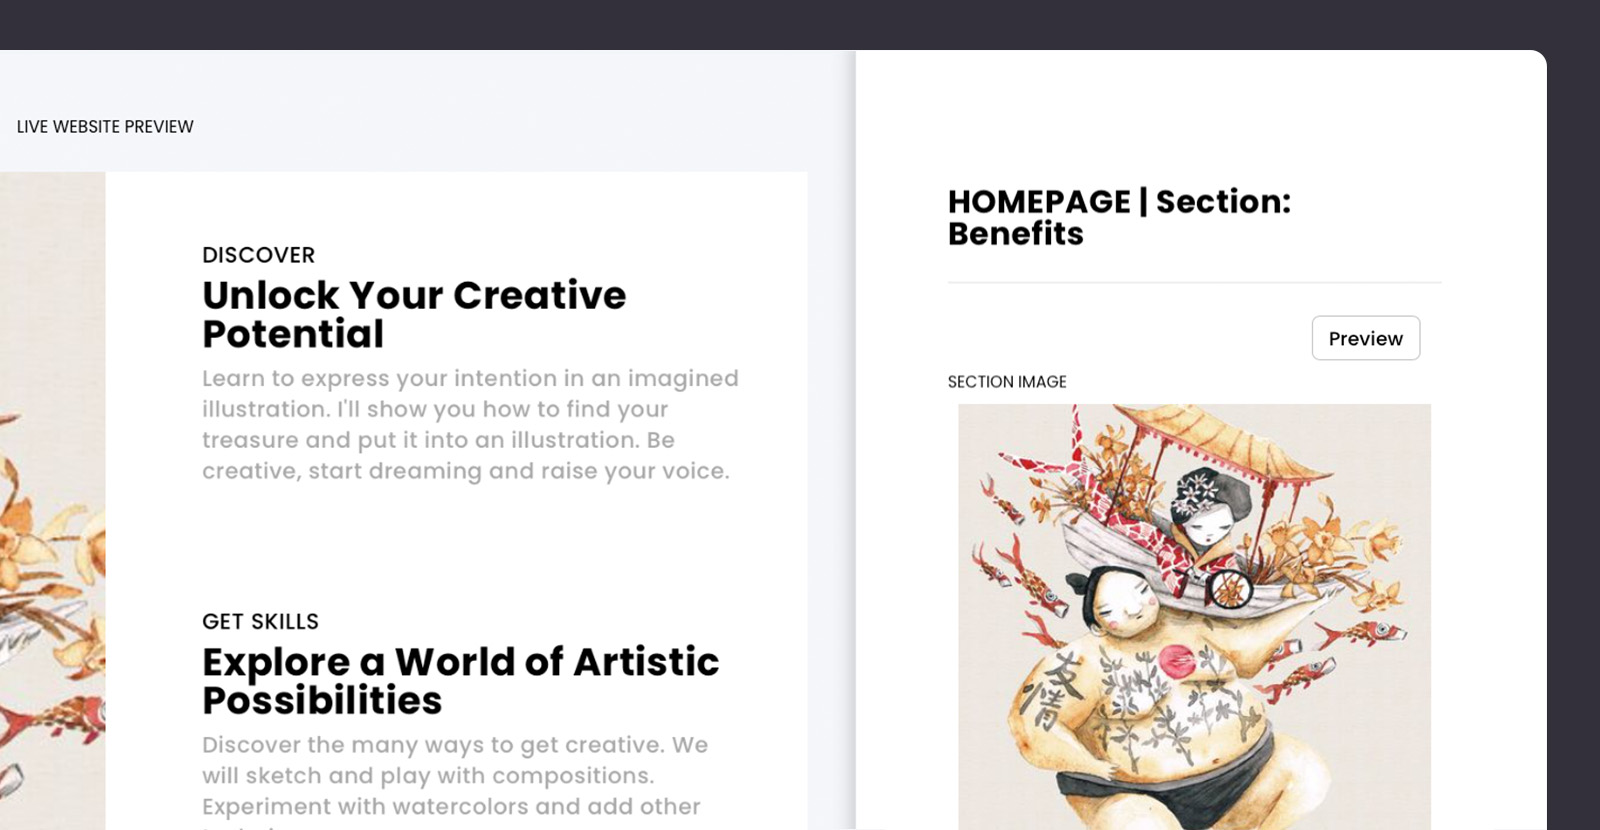
How to do it in CreativeMindClass
- Click Edit button on Benefits section.
- Type HEADER. For example "Unlock your creative potential".
- Type SUB-HEADER. For example "Discover".
- Type PARAGRAPH. For example "Learn to express your intention in an imagined illustration. I'll show you how to find your treasure and put it into an illustration. Be creative, start dreaming and raise your voice".
- Click SECTION IMAGE and upload your image.
Give a "try before you buy"
Someone who is scrolling through to buy your online illustration course page wants to get a sneak peek of what's inside. It's exciting and gives potential learners a glimpse of what they can expect from a course. It can help them decide if the course is a good fit for their interests and needs.
So make that with an amazing promo trailer to get attention, draw in more students and increase your sales. For a promo trailer, you can create a cool and dynamic video of 30-60 seconds.
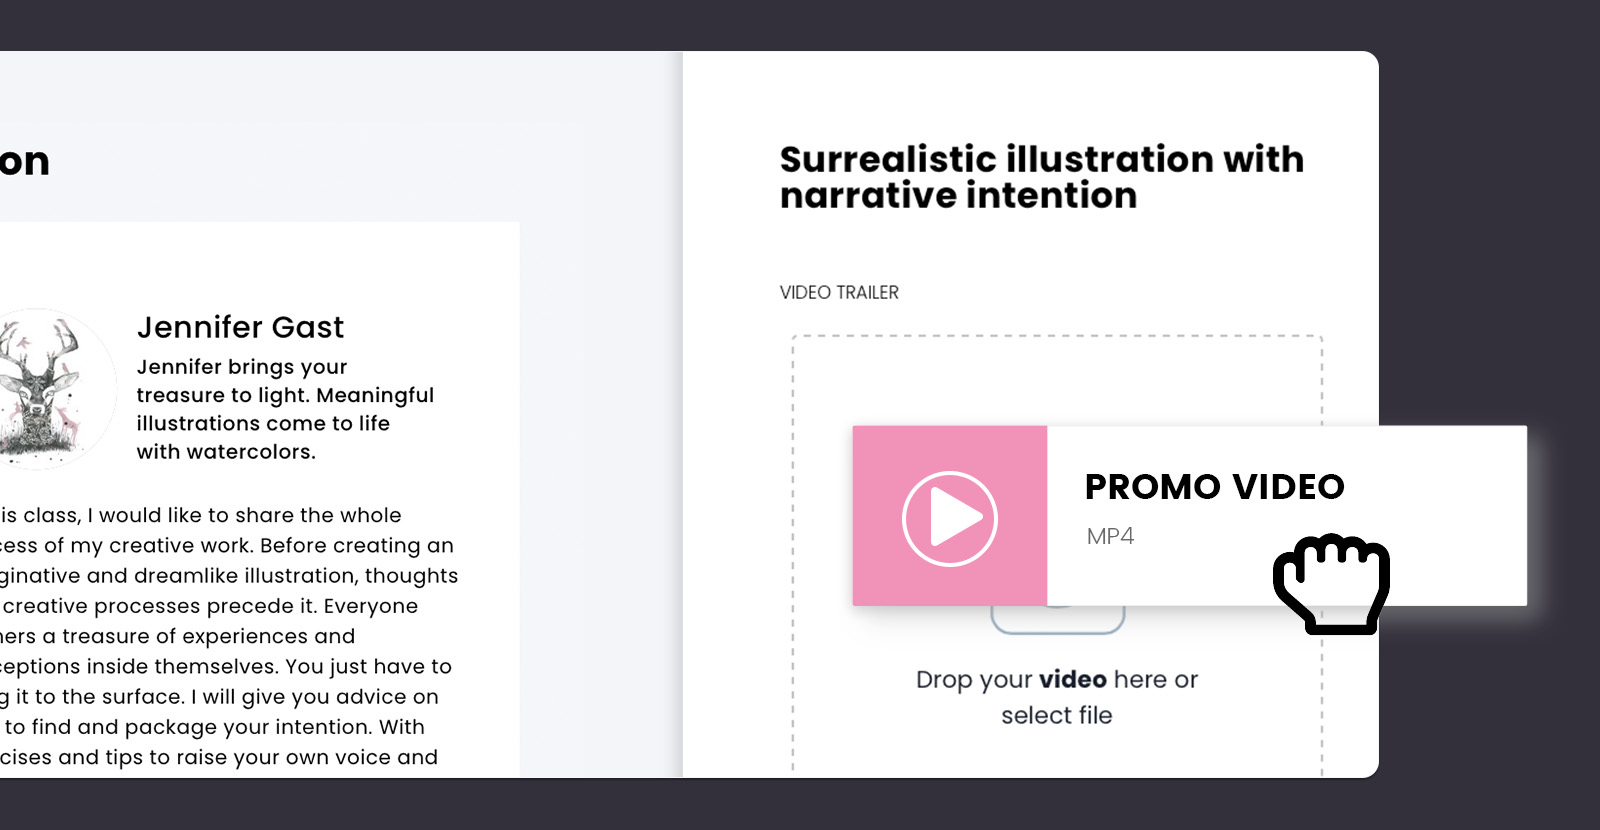
How to do it in CreativeMindClass
- Click My Classes in main menu to open it.
- In Class, Click Class page tab to open it.
- Click VIDEO TRAILER to upload your promotional video.
Share it with your audience
Congratulations! Once you've prepared your course website, your online illustration course creation is completed. This is an exciting moment after all the hard work.
But another type of work begins! It's time to share it with your audience. Insert the link to your website, social media, email, or blog, and start the promo campaign.
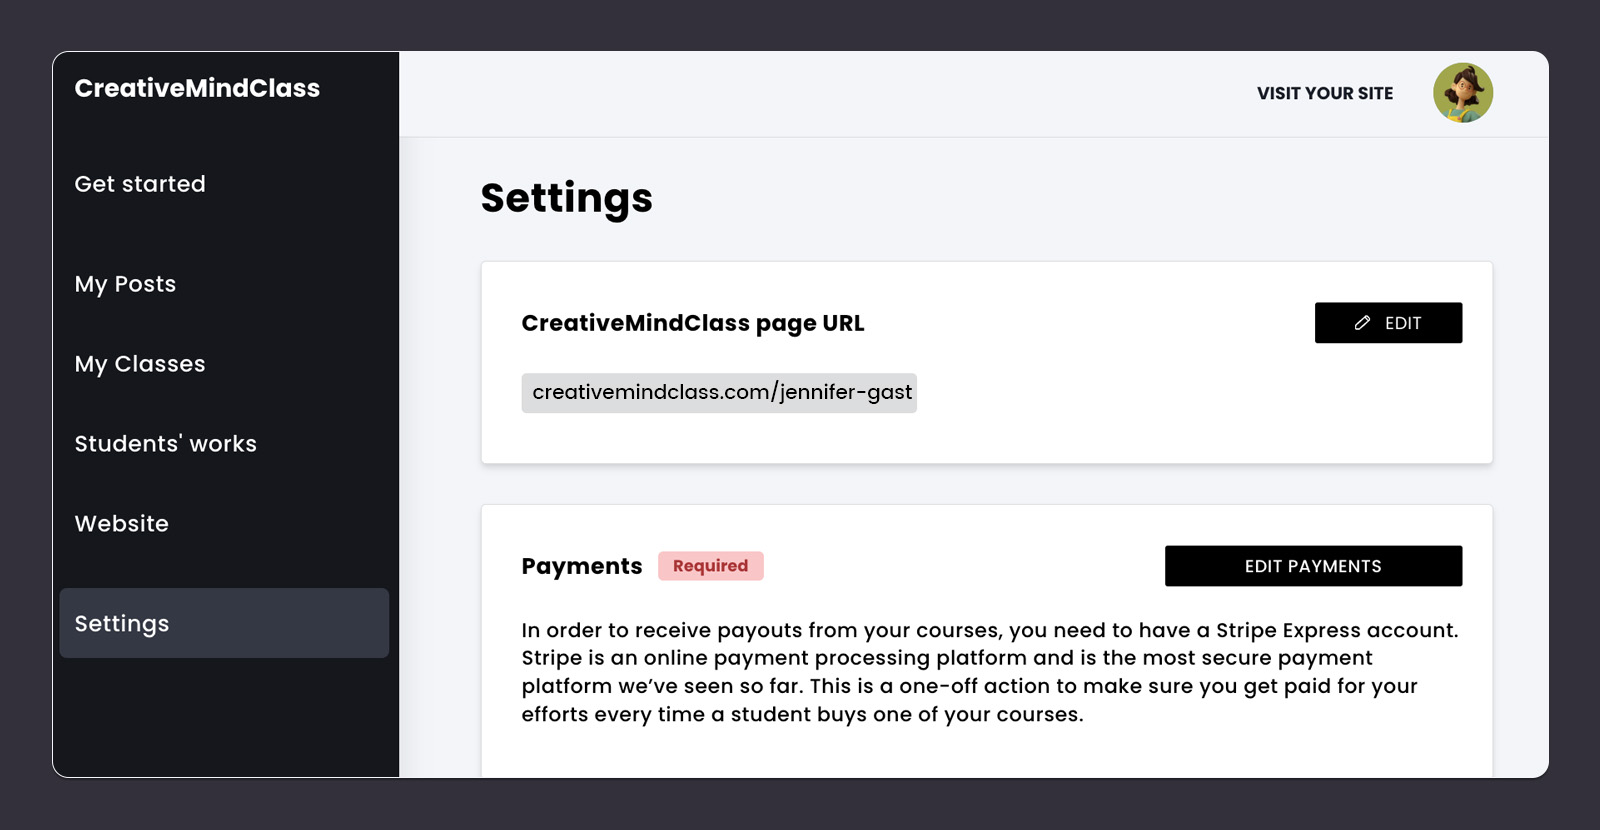
How to do it in CreativeMindClass
- Click Settings in main menu to open it.
- Copy CreativeMindClass page URL.
- Share the course with your audience.
You're all done!
Hopefully, this guide helped you become more organized and gave you the space to let you create a great learning experience for your students.
If you are starting a new online illustration course, use the Illustration Course Template below to get set up in minutes.
Create your online illustration course. Today.
Get started for FREE with our template.
Sign up for free with no time limit


