
Follow this step-by-step guide to learn the process of creating videos for an online course in CreativeMindClass, a free tool used by top creators.

How to Effectively Plan and Record Awesome Videos for an Online Course in 9 Easy Steps
Prepare videos, downloadable files, and exercises.
At this point, you should have a course outline ready. Now, it's time to think about how to present each element of your course. Engaging, interactive, and fun content creates a great learning experience for online students. The best way to deliver learning outcomes is to mix different multimedia: videos, screen recordings, presentations, audio, hand-outs, and exercises.
In this guide, you'll learn the pragmatic approach to planning and recording videos, preparing bonus materials like downloadable files, and engaging students in active learning with exercises. Remember, content preparation is the heart of your course, so you might find yourself working on the steps for a while.
1. Choose the video content type
Look at your course outline. What method fits best to deliver the learning outcomes of each lesson?
The videos you bring into your lessons is what helps to create an engaging online course and give students a great learning experience. These videos can be made using the gear and shooting space right at home with the skills you already have at your fingertips.
When you're done recording and editing your videos, you have multiple short, 16:9, high-quality video files to upload. Keep in mind the high quality of the video. The resolution must be 1080p.
There are several types of videos you can create for your lessons:
1. Videos showing your face
What it is: Showing your face in a video is a excellent way to present yourself online as a real human, placed in a non-virtual setting. This allows students to get to know you better, builds trust and a personal connection. They can instantly recognize your face, your smile, and your presentation style.
How to do it: Record yourself sitting or standing. The footage can be shoot from one or more angles. It's pYou might need a tripod for that.
Best for: Try the videos showing your face, for example, in the introduction or conclusion.
For which lessons would you use this video type? Which lesson objectives could you deliver best when you create a video showing yourself? Choose the lessons and make notes in the lesson description.
PRO TIP: For better sound quality in your videos, use an external microphone. You can start with the one you have in your headphones.
2. Documentary videos
What it is: A documentary video in shows your reality and surroundings. You can show your workspace. Also, it's a way to present behind the scenes of your work. This gives you cool video footage to mix into various lessons between the learning parts. It makes them more fun and gives a your students a little break in learning.
How to do it: The documentary shots are something that you most likely will collect in several recording sessions. They can be quite fun to film as they open creative opportunities, and you can act like you are a filmmaker.
Best for: It's a nice way to create interesting footage, for example, to talk about your background, show yourself working, or your live workshops.
PRO TIP: The majority of thedocumentary video footage you can record yourself. But for some shots, you might need some help. You can ask a friend to assist you or hire someone so several hours.
3. Talking head videos
What it is: The talking head videos your might know from Youtube tutorials as it's commonly used way of presenting. The talking head video is a close-up shot of you explaining stuff to the camera.
How to do it: Combine the talking head video with visuals displayed behind you, like presentation slides, video, or a still image. Add the visuals in the post-production.
Best for: It's perfect for presenting software. You can also show some inspirations and make comments on the parts that you like or show some commonly made mistakes.
Which lesson objectives could you deliver best when you create a talking head video? Choose the lessons and make notes in the lesson description.
PRO TIP: Lighting is crucial for talking heads videos. Avoid shadows, overexposure, and just plain bad lighting. You can use a ring light or LED lights on tripods.
4. Videos without showing your face
If showing your face on the camera feels like too much exposure, create videos without it. The challange is to create a connection with your audience without using your facial expressions. Think about ways to make your personality shine through in your script, your voice, and your video content.
If you're using an avatar or animations, think carefully about how to make the characters appeal to your audience and help you build a personal connection.
5. Presentation with a voiceover
What it is: No need to record yourself on a camera. You can create a slideshow video. Take a slide presentation, add a voiceover, and voila! It's that easy!
How to do it: Talk over your Google Slides or PowerPoint. To make it more dynamic and video-like, you can use Prezi with zooming in and other fun features. Once you have your slides ready, you simply explain what's on the slides. Remember that the good sound quality is very important in your voiceover.
Best for: A presentation with a voiceover is an easy way to digesting content for people who learn by looking. You present the most important information with bullet points, illustrations, photos, graphs, or your own doodles. Especially when something needs to be looked at several times or remembered.
Which lesson objectives could you deliver best when you create a talking head video? Choose the lessons and make notes in the lesson description.
6. Screen recordings
What it is: Screen recording shows what you do on your computer screen.
How to do it: For screen recordings, you can use a Quicktime (on Mac) or hit Windows Key + Alt + R. When you're ready with the recording, you can speed up the boring parts and add your audio narration or a music track. Also, you can top it out including a talking head type of video to make it more engaging.
Best for: Such shots are great, for example, for the part of your course where you talk about software you use.
Which lesson objectives could you deliver best when you create screen recording videos? Choose the lessons and make notes in the lesson description.
7. Whiteboard videos
What it is: You can convey your learning objectives with whiteboards. They are relatively easy to create. As simple as using a black marker and a white background.
How to do it: There are several ways to go about it. It can be a video of you in front of a whiteboard or an animated video of whiteboard photos (so you don't need to show your face). You can use a digital drawing pad (like an iPad) or whiteboard animation software like Doodly.
Best for: These videos are great for dynamic parts of your content, marking something, circling, etc.
Which lesson objectives could you deliver best when you create whiteboard videos? Choose the lessons and make notes in the lesson description.
8. AI videos and voiceovers
What it is: AI videos are another way of creating videos without showing your face. They are professional videos with avatars and voices.
Using AI videos and voiceovers can be a quick way of creating your online course. Also, it can be your distinguished teaching style but keep in mind that it's difficult to build a personal connection on AI-generated footage.
How to do it: AI videos and voiceovers are generated from plain text using software like Synthesia.
Best for: It's an alternative for your face shots if you don't like filming yourself.
PRO TIP: If you don't like an AI avatar in your online course, you can generate only a voiceover for your screen recordings or slide presentations. It's a nice walk around if you create a course in English and don't feel confident about your pronunciation.
Do you think using AI videos or voiceovers would be beneficial in your content delivery? Which specific lesson objectives could deliver this way? Choose the lessons and make notes in the lesson description.
When you choose the video types to deliver your learning outcomes for each lesson, it's time for "Lights, camera, action!". You can read about recording videos here:
2. Record and edit your video
1. Set up your recording space
Setting up your recording space is essential to ensure your learners have a good learning experience with your online course. They need to be able to see you and hear you.
Depending on the video type you've chosen to deliver your learning outcomes, you’ll have different setups:
- For videos of you teaching directly or showing you at work, you'll record yourself.
- For talking heads, you'll use editing software after you’ve completed recording to create a combination of screens and footage of you speaking.
- For presentation videos and screen recordings videos, you’ll record your computer screen and make a voice-over for audio.
- For whiteboards, you'll record yourself in front of the whiteboard or record your computer screen and make a voiceover.
Recording a course doesn't necessarily need to be a professional studio. You can record it in your living room.
PRO TIP: For the video recording, keep in mind the same basic rules; the camera is steady on a tripod, there is enough light, you frame the shoot well, and the recorded space looks spotless. For audio, make sure there is no background noise or echo. You can reduce them with blankets or soundproof acoustic panels.
2. Select the tools you need for video creation
Start by listing the gear or software you want to use to create each video. Depending on the type of video, these could be physical gear like a camera, lighting, tripod, microphone, or software for screen recording and post-production editing. Having the latest and greatest gear is fun, but it’s not a necessity.
Camera: start by using your computer's camera or mobile phone's camera.
Microphone: built-in cameras and microphones on your computer or mobile phone give poor sound quality. Go for a hands-free microphone or table-top microphone.
Lighting: use natural light or the lamps that you have at home. If you're not happy with the result, try a ring light or invest in a three-point lighting kit.
Screen recording: Quicktime Player is for that on a Mac, or a download a free app for Windows Obsproject.
Editing: for video editing, try Adobe Premiere Rush or Premiere Pro.
3. Start recording your video course
You've been waiting for this exciting moment for a while. Now, it's finally time to press the start button on your camera.
Start with recording a test video to check the quality of your audio and video.
You don't need to necessary record your video lessons chronologically. Start by selecting from your lessons list the one lesson that speaks to you or seems the easiest to do. It can be a self-introduction, or you can jump into your favorite topics of the instructional lessons right away.
Leave out the recording of the lesson overview and conclusion to the very end of the recording sessions, in case you'll add something unplanned to your lesson content.
PRO TIP: You can capture behind-the-scenes of a recording day. It's a great footage to promote your online course.
The videos you choose for your lessons create an engaging online course and give students a great learning experience. To make these videos, you can use the gear and shooting space right at home with the skills you already have.
When you're done working on your videos, you have multiple short, 16:9, high-quality video files to upload. Remember about the high quality of the video. The resolution should be 1080p.
3. Create a user experience that focuses on videos
A video course is an entirely different learning experience than reading, for example, text on a slide presentation. It needs certain features, navigation, and layout specific to video platforms. CreativeMindClass is an online course platform dedicated especially to video-based courses and focused on providing an enjoyable learning experience by using a video.
Usually, when a video is uploaded on a platform, it's a good practice to add a custom thumbnail. It looks great in the preview. However, it adds some extra work. We came up with something that looks cool without you doing the extra work. We pick the highlights when you upload your video and show a looped 3-8 seconds video. It's something you might know from Spotify videos shown while a song plays.
How to do it in CreativeMindClass
- In LESSON, select VIDEO lesson type.
- Drag a video file from your computer.
- Go to Preview and enjoy the automatically generated lesson cover video.
4. Add a video to each lesson
Videos are the most engaging way to present your content. A successful online course is 4 to 25 hours of video footage. It's hard to film yourself that long.
Remember, videos can have different forms, like presentations or screen recordings with audio, so it doesn't mean that you need to be in front of the camera all the time.
How to do it in CreativeMindClass
- Create a new class for your video lessons.
- Click LESSONS tab to open it.
- Select VIDEO lesson type.
- Drag a video file from your computer.
- Add a video to each lesson.
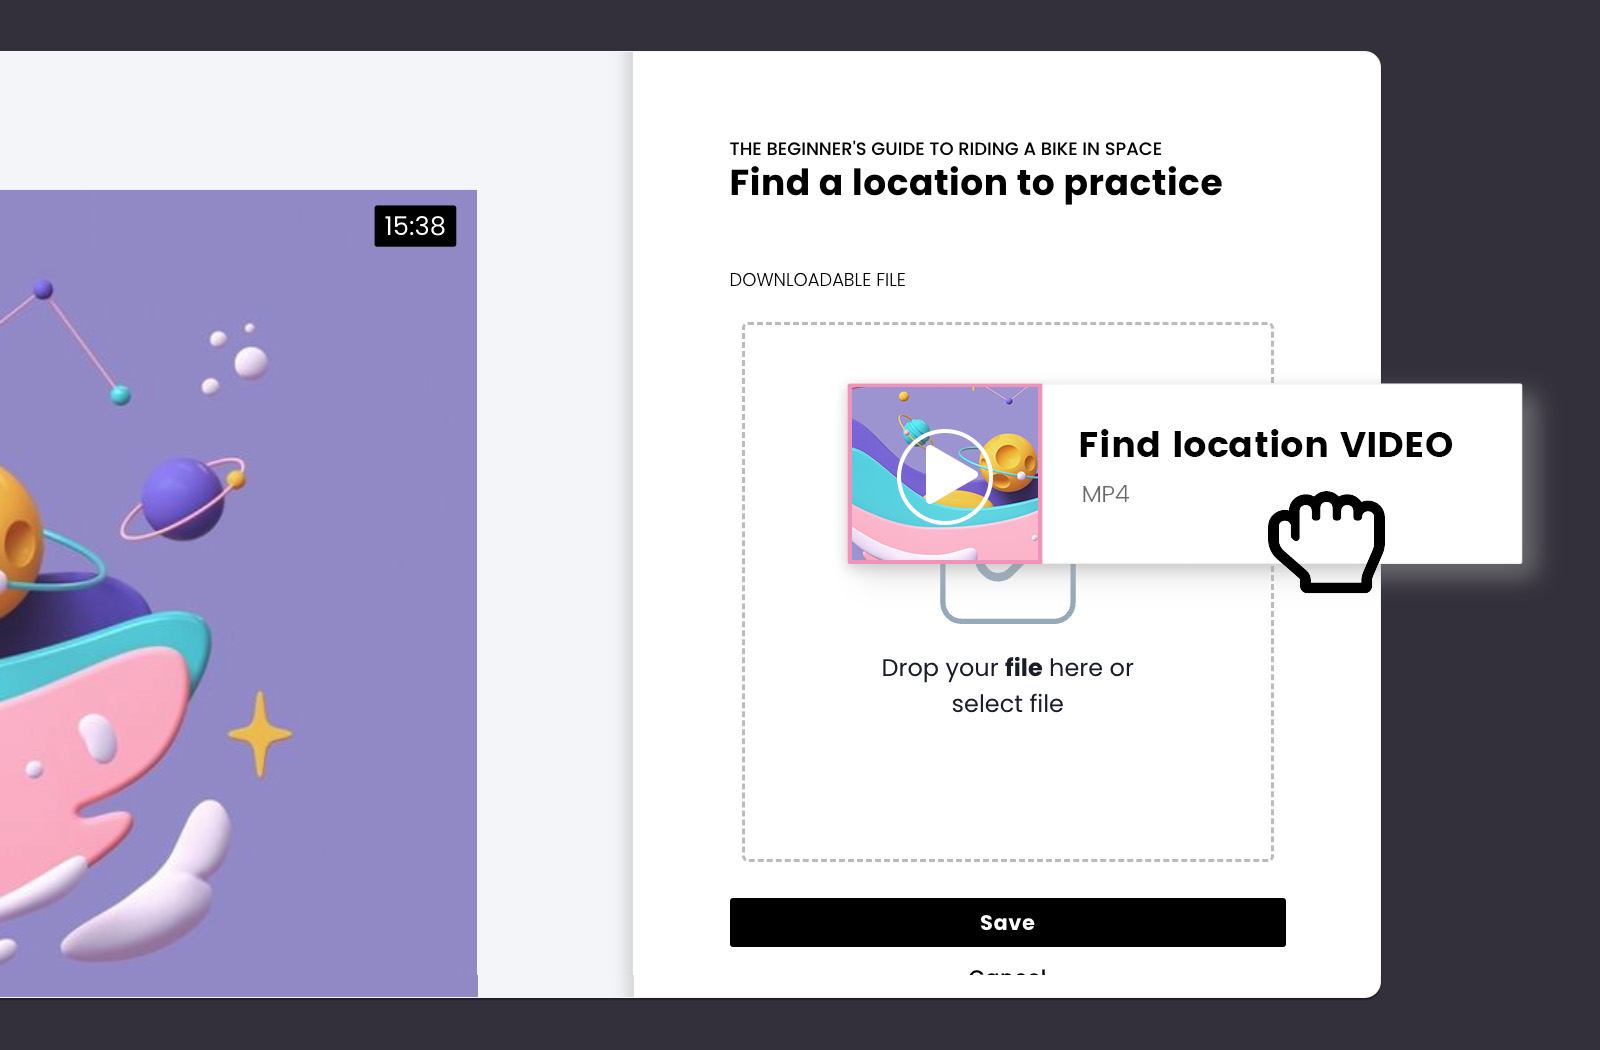
5. Add a downloadable file
Downloadable files are an excellent addition to your lesson. You can create video lessons with additional files like printouts, worksheets, documents to fill in, editable native files, or extra video files.
They're not just an effective way to deliver your key learning outcomes. Also, they're a great method to engage your students in active learning. What's nice is that they might be seen by your students as cute little gifts that increase your course value.
When you upload an extra file to your lessons, your students can download it, print it out, fill it in, or edit it.
This downloadable file doesn't have to be printed out. It could be filled in digitally, for example, on an iPad, or your students can work inside a file on their desktops. After they've completed the work, they can give the file back and receive your feedback.
Downloadable files make your content fun and engaging and leave your mark on students' pulpits and desks. You can read more about downloadable files here:
6. Choose the downloadable files for your lessons
1. Printouts
What it is: They are images or PDFs. Do you want your students to remember something or follow some specific steps? You can deliver it with a downloadable PDF file. You can add a printout to any lesson with everything you can imagine whiteboards, slideshows, notes, infographics, etc. You can create additional content or reuse the content from your lessons.
How to do it: You can create printouts using text editors or Canva. Your students can take notes or... you can give notes to them. Select four or five key points that you cover in a specific lesson.
Best for: It's a perfect way of delivering, for example, lesson key points and a kick starter set. They work great for planners, checklists, briefs, or mood boards.
PRO TIP: If you use presentation slides in your lessons, a nice little trick is to give them to the students so they can make notes on them.
Do you think providing printouts would be beneficial to your content delivery? Which specific lesson objectives could you deliver this way? Choose the lessons and make notes in the lesson description.
2. Worksheets and documents to fill in
What it is: They are PDFs, Pages/Word documents. Worksheets are documents that your students can fill in. They can be plain text documents or beautiful sheets made in your brand style.
How to do it: Create it in Pages/Word or use colorful templates from Canva. You can receive the filled-in worksheet back from your students. To do that, you need to combine it with an exercise that enables students to upload their files to a lesson and get your feedback. We'll discuss it in detail below.
Best for: If you include in your online course a brainstorming exercise, you might want your students to write their ideas down. You can add a mind map, a table, or a storyboard to fill in. They are also great for writing down answers to questions and other assignments, tasks, and homework.
Do you think giving a worksheet would be beneficial to your content delivery? Which specific lesson objectives could you deliver this way? Choose the lessons and make notes in the lesson description.
3. Editable native files
What it is: They are native files that programs (like Photoshop) create, and a student can edit. You might know them as .PSDs, .RAW, .TIFFs, .AIs, .docs, etc.
How to do it: Create a document and export it in a native format and upload it to a lesson. You can combine it with exercise. This way the student can give the file back to you for feedback. We'll discuss it in detail below.
Best for: They are best for software parts of your online course. Your students to work on native files on their desktops.
Do you think providing an editable native file would be beneficial to your content delivery? Which specific lesson objectives could you deliver this way? Choose the lessons and make notes in the lesson description.
PRO TIP: Make sure your students also have access to the program you're using otherwise, they can't work on the document.
4. An additional video
What it is: You can upload an accompanying video to any lesson, and your students can download it. It's great for presenting detailed information. You can also provide some advanced learning materials for the students who are willing to do some extra tasks.
How to do it: You can record an additional video during or it after recording the main content for your online course.
Best for: You can use it for instructional videos that need to be watched several times.
Do you think adding an extra video would be beneficial to your content delivery? Which specific lesson objectives could you deliver this way? Choose the lessons and make notes in the lesson description.
5. Include software links in downloadable files
What it is: You can add a link inside your downloadable file so only your students can access it.
How to do it: Paste any link in a text document and upload it to a lesson.
Best for: It's a great solution to give your students some additional learning materials. Or when you want them to access a website where they can create, for example, a mood board or a mindmap (like Milanote). This way, you can create a link to an online program that doesn't generate an editable file.
PRO TIP: If the software you use generates editable native files (like Photoshop), it's best to provide it as a downloadable file.
Do you think giving a link would be beneficial to your content delivery? Which specific lesson objectives could you deliver this way? Choose the lessons and make notes in the lesson description.
The downloadable materials you add to your lessons help to deliver your learning outcomes effectively. The downloadable files can be made using software like Pages/Word, Google Slides, Prezi, Photoshop, or Canva. Some of the software is free and may come with your computer others you'll need to buy.
You can reuse some learning materials from your videos (presentation slides, planners) as downloadable files. Export them as PDF files.
Also, you can use downloadables like worksheets or native files together with exercises. The combination enables students to upload their files to a lesson and get your feedback.
Once you've finished creating your downloadable files, you have high-quality image files or editable native files to upload.
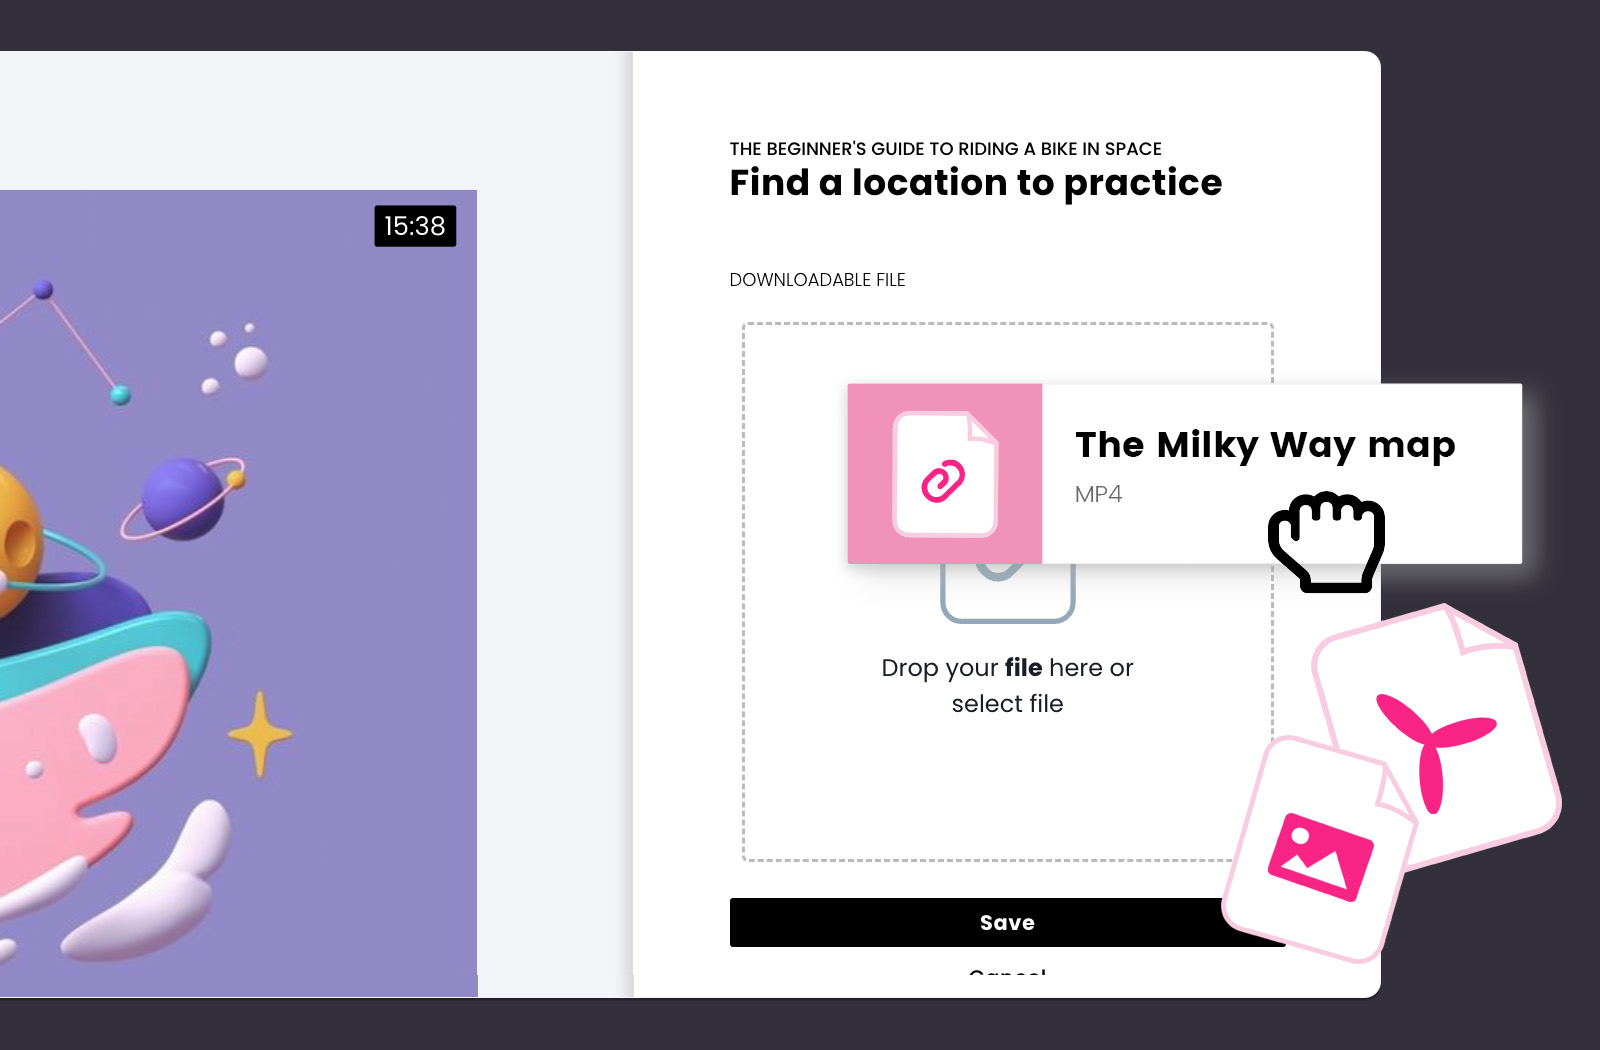
How to do it in CreativeMindClass
- Navigate to LESSON → Content tab
- Click DOWNLOADABLE FILE to upload your file.
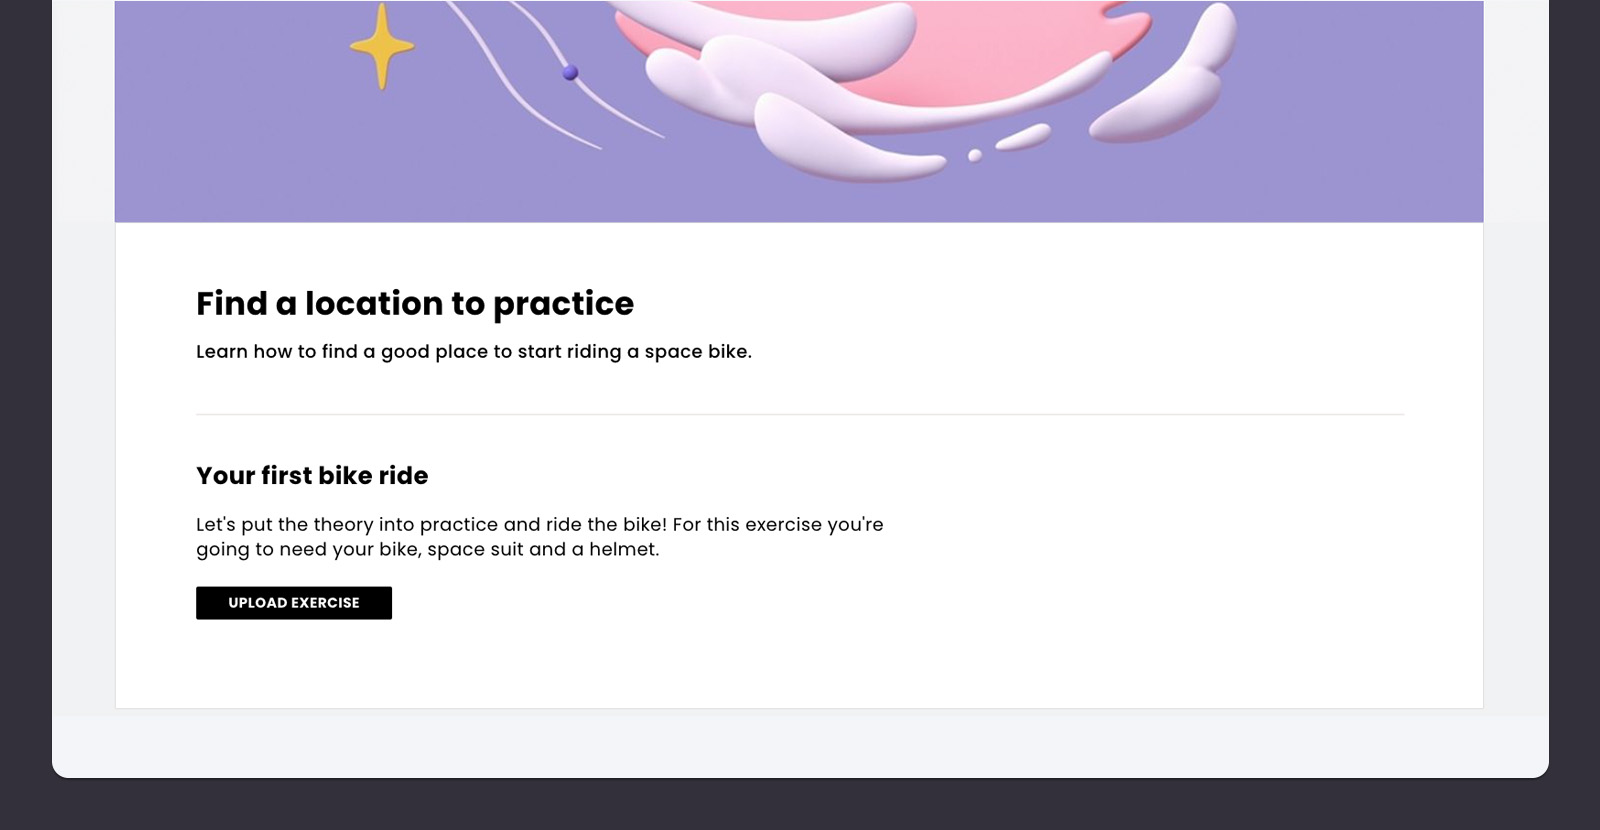
7. Add an exercise to a lesson
Exercises are a great way for your students to put theory into practice. They engage them in learning by doing. Such active learning typically consists of an actionable task and instructor feedback.
Think about a learning experience you could create to help achieve their goals. Look at your Lessons list. Which lessons could have an engaging and fun activity as a learning method? Which lessons could have homework assignments? What brainstorming exercises could you include? What is the final project in your course?

How to do it in CreativeMindClass
- Navigate to LESSON → Content tab
- Click EXERCISE to create an exercise for your students.
8. Ask students to share their projects and get your feedback
Some online courses ask for a class project. Your students can apply the skills they learn during your course to complete the project. You can ask them to upload their project to get feedback.
How to do it in CreativeMindClass
- Navigate to LESSON → Content tab
- Click EXERCISE to create an exercise.
- Type TITLE.
- Type DESCRIPTION.
- When your student uploads the exercise, navigate to Students' works to you give your feedback.
9. Build an online community around your course
Sharing your feedback with students is the first step towards building a community around your online course. You can take your students learning experience to the next level growing your business and boosting your brand reach at the same time.
Online community drives traffic to your online course website, helps you retain customers, and increases your revenue. Activity Feed is a place where you communicate with your community using posts.
Add some motivational posts to your online course experience. You'll get yourself a great base for building a highly engaged community around your business and brand.
How could you keep your students interested? What do you usually post on social media? What tricks and practical tips could you share? A good idea to keep your students engaged and motivated to complete the course are daily posts with inspirations for the final project.

How to do it in CreativeMindClass
- Click My Posts in main menu to open it.
- Click ADD POST button to create a new post.
And you're done!
Now that your video lessons is ready, you have a powerful content for your online course. Hopefuly, you've added some bonus content to your videos to increase your course value. If you are starting a new online course right now, use the free template below to plan and record a new video lesson, or check out our full guide on how to create an online course.
Create your online course videos. Today.
Get started for FREE with CreativeMindClass's easy-to-use template.

Sign up for free with no time limit
Read more
- Choose an online course topic in minutes with CreativeMindClass
- Create an Online Course Outline with CreativeMindClass (+Template & Examples)
- Create a beautiful website for your online course with CreativeMindClass
- How to Price an Online Course in 3 Simple Steps (+Calculator)
- 90+ Online Course Ideas For Anyone Who Wants To Sell Online Courses. Templates & Examples
- 5 Quick Steps to Create an Online Course: Guide
- Website Builder for Online Courses & Course Website Maker by CreativeMindClass


